Bulk Action
Introduction
Bulk Actions represent the same actions you can apply to an individual item, but allows you to apply that action to multiple items.
- Regenerate Passwords
- Activate Accounts
- Deactivate Accounts
- Send Welcome Email
- Clear Notification History
| If the items described in this document are missing from your site, the plugin may not be active. Please contact your account manager for assistance. |
Browse to Manage people > Users
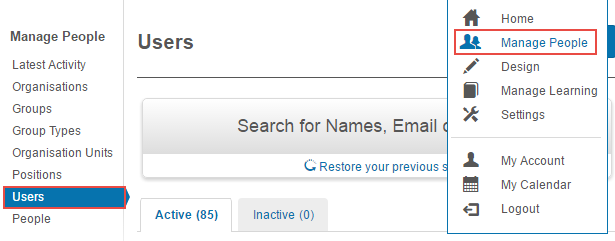
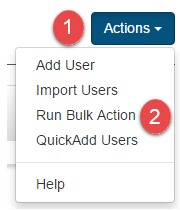
- Select Actions.
- Select Run Bulk Action.

Regenerate Passwords
Note: This option is only available if Generate Passwords is enabled in Settings > Password Settings > Password Generation.
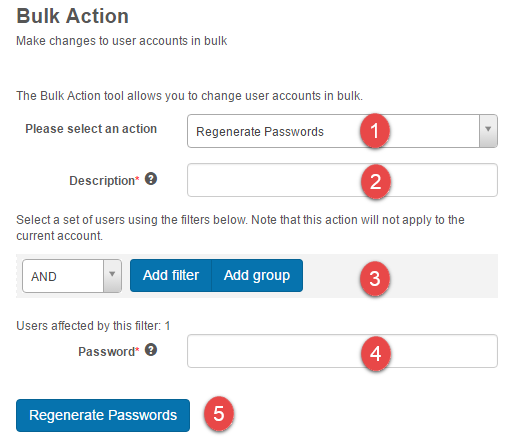
- Select Regenerate Passwords.
- Enter a Description. This is to identify the bulk action in case there are many being created.
- Set the filters to target the appropriate users. Refer to Building Filters for more information.
There will be a note on how many users will be affected by the action. - Enter your Password.
- Select Regenerate Passwords.
A confirmation popup will be displayed.
- Select Yes.

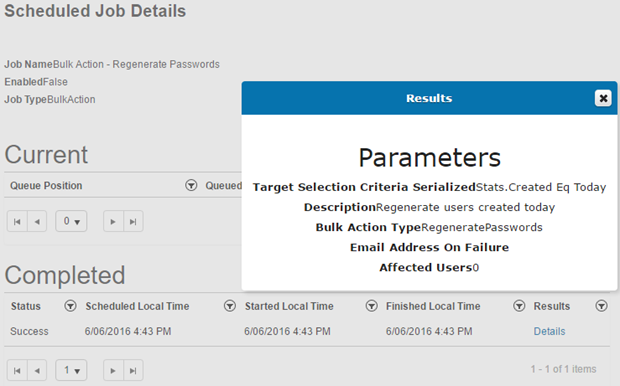
Once the action is performed, you will be directed to the Scheduled Job Details page with information on the status of the action. Further details can be seen when selecting the Details link under Results.
Note: Bulk password actions can also be scheduled in Settings > Scheduling > Schedule a Job.
Account Activation / Deactivation
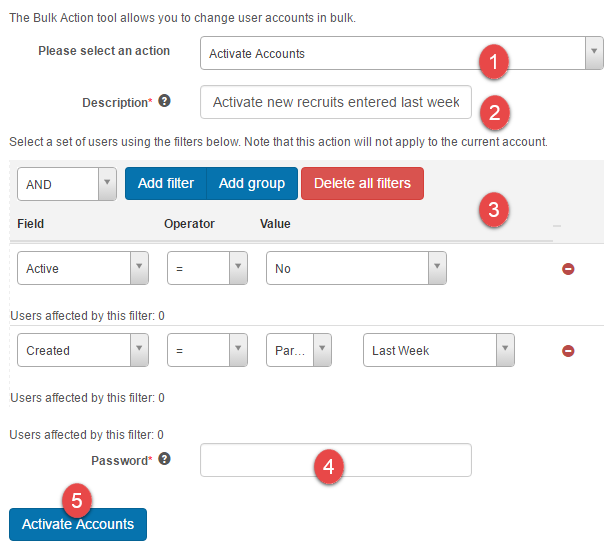
Individual accounts or groups of accounts can be set to active or inactive using the Deactivate Accounts or Activate Accounts features.
- Select Deactivate Accounts or Activate Accounts.
- Enter a Description. This is to identify the bulk action in case there are many being created.
- Specify the filters to target the appropriate users. Refer to Building Filters for more information.
There will be a note on how many users will be affected by the action. - Enter your Password.
- Select Deactivate Accounts or Activate Accounts.
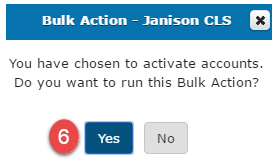
A confirmation popup will be displayed.
- Select Yes.
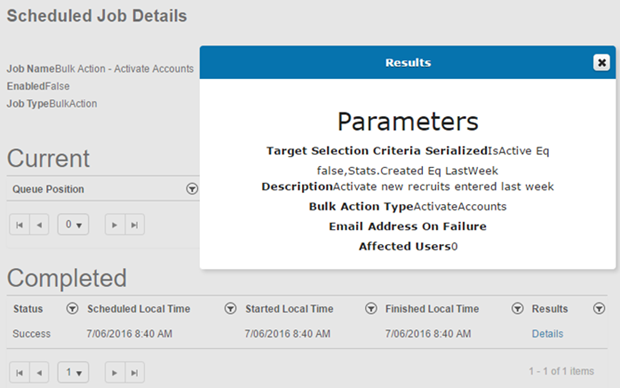
Once the action is performed, you will be directed to the Scheduled Job Details page with information on the status of the action. Further details can be seen when selecting the Details link under Results.
Send Welcome Email
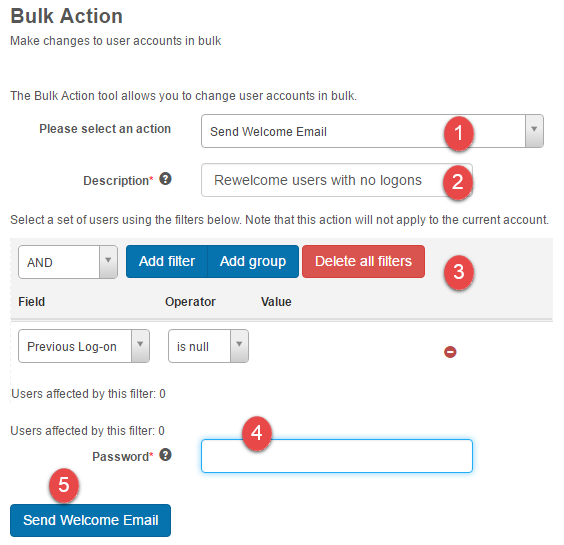
Welcome emails can be triggered automatically when new accounts are created. The Send Welcome Email feature allows a user administrator to send a welcome email when the email is required to be sent at a later time.
The email can be found and edited in the Message Templates and is called System-FirstLogon. It can be accessed from Settings > Message Templates.
- Select Send Welcome Email.
- Enter a Description. This is to identify the bulk action in case there are many being created.
- Specify the filters to target the appropriate users. Refer to Building Filters for more information.
There will be a note on how many users will be affected by the action. - Enter your Password.
- Select Send Welcome Email.
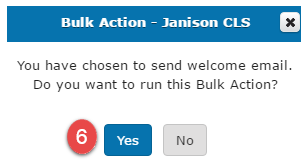
A confirmation popup will appear.
- Select Yes.
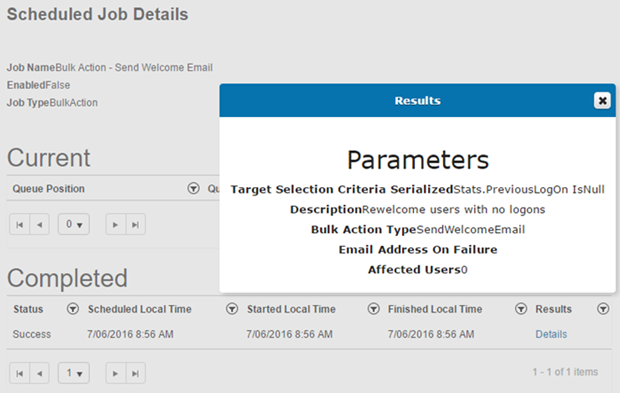
Once the action is performed, you will be directed to the Scheduled Job Details page with information on the status of the action. Further details can be seen when selecting the Details link under Results.
Clear Notification History
This feature allows an administrator to clear the notification history of users.
- Select Clear Notification History.
- Enter a Description. This is to identify the bulk action in case there are many being created.
- Specify the filters to target the appropriate users. Refer to Building Filters for more information.
There will be a note on how many users will be affected by the action. - Enter your Password.
- Select Clear Notification History.
A confirmation popup will be displayed.
![]()
- Select Yes.
![]()
Once the action is performed, you will be directed to the Scheduled Job Details page with information on the status of the action. Further details can be seen when selecting the Details link under Results.
![]()