Navigate to Marking > Marking projects.
Select Add Marking Project (enrolment based).

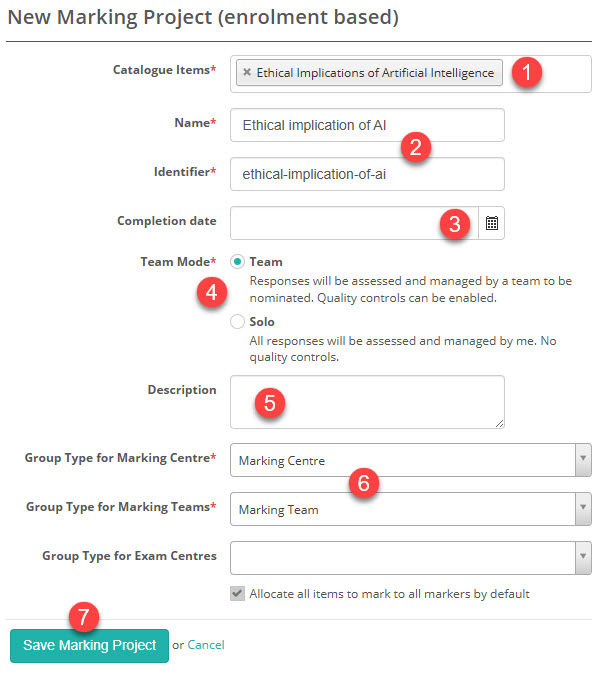
New marking project screen
Important: If the button to create an enrolment based marking project is missing, view our document on Settings.
- Select one or more assessment events.
- Enter a name for your marking project.
- Optionally, set a completion date.
- Choose a mode — Team or Solo:
- Team – Responses will be assessed and managed by a team. Quality controls can be enabled.
- Solo – All responses will be assessed and managed by a single person. No quality controls are available.
- Add a description (optional). This is only visible to the project author.
- Use groups to add markers to the project efficiently.
The groups you create must be within the group types you select here.
- Group Type for Marking Team
You can manage your markers more easily by creating a marking team group in People > Groups.
Once the group is set up, you can add everyone to a marking project in just a few clicks. The same group can be reused across multiple projects, and you can update it anytime. - Group Type for Marking Centre
To show where each marker is based, create marking centre groups.
When someone belongs to both the marking team group linked to the project and a marking centre group, their marking centre/s will display next to their name in the Centre column of the team view.
Below is an example of a completed form.
The marking project displays. We’ll cover the sections in detail as we go through setting it up.
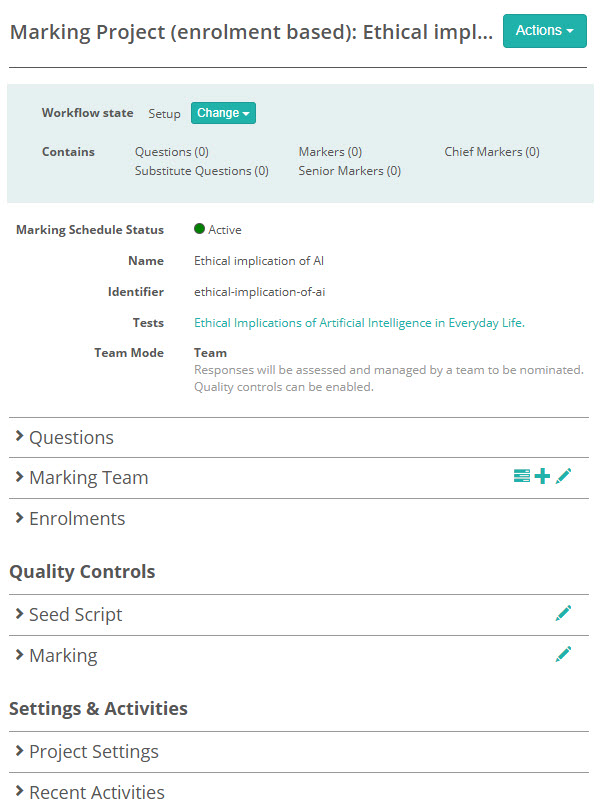
Next, you’ll add markers to the project.