Schedule a job
The scheduling feature in Janison Insights allows you to schedule different jobs to run at set times or at regular intervals. For example, you could email a custom report to someone every day, or update Users on a weekly basis.
To create and manage scheduled jobs, navigate to Settings > Scheduling.
Important
Janison Insights is highly customisable and therefore the entities in your system may have been renamed and the menu may have been customised.
It’s important to remember you will only be able to see the entities in the menu which you have access to create. Scheduled jobs are normally created by the Janison Implementation Team. Contact your Account Manager for more information.
Job types
The type of jobs you have access to schedule will depend on the way your site is set up.
Some common job types are detailed below.
Email custom report
This job type gives you the option to send a custom report to a specific email address.
The custom report must already exist before you can schedule it. See the Creating and running a custom report section for more information.
Enrolment import
This job type allows you to schedule an enrolment import from a file that is placed in a directory on the system by a third-party HR system. This will automatically enrol Users into one or more items.

Important
Before scheduling can commence, you will need to contact the Janison Support Team who will arrange an account to access the HR directory.
Export custom report to file
This job type allows you to schedule a custom report to be placed in a specific location in the system.

Tip
The custom report must already exist before you can schedule it. See the Creating and running a custom report section for more information.
Important
Before scheduling can commence, you will need to contact the Janison Support Team who will arrange an account to access the directory where the file will be placed.
Generate new passwords
This job type will automatically generate new passwords for all people based off the selections you make in regards to Organisation, Organisation Unit, role, assessment event.

Group membership import
This job type allows you to schedule a group membership import from a file that is placed in a directory on the system by a third-party HR system.

Tip
A group membership import template is available from the Groups screen. See the Import Users to a Group section for more information.
Important
Before scheduling can commence, you will need to contact the Janison Support Team who will arrange an account to access the HR directory.
Organisation import
This feature allows you to schedule import Users from a file that is placed in a directory on the system by a third-party HR system. This job can automatically add or update Users in the system.

Tip
A User import template is available from the Users screen. See the Import Users section for more information.
Important
Before scheduling can commence, you will need to contact the Janison customer support team who will arrange an account to access the HR directory.
Create a scheduled job
To schedule a new job:
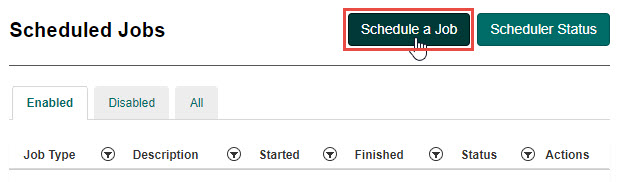
- Select the Schedule a Job button.
- Complete the following job details:
- Enter a name for the new job in the Job Name field.
Tip
Once created, this name can’t be changed.
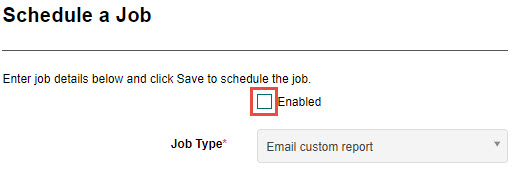
- Ensure the Enabled checkbox is selected if you want the job to be active.
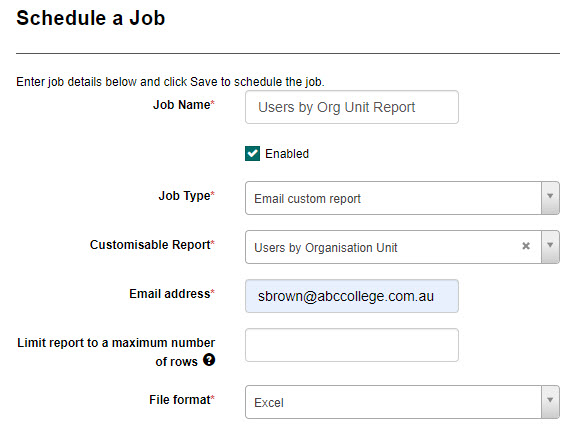
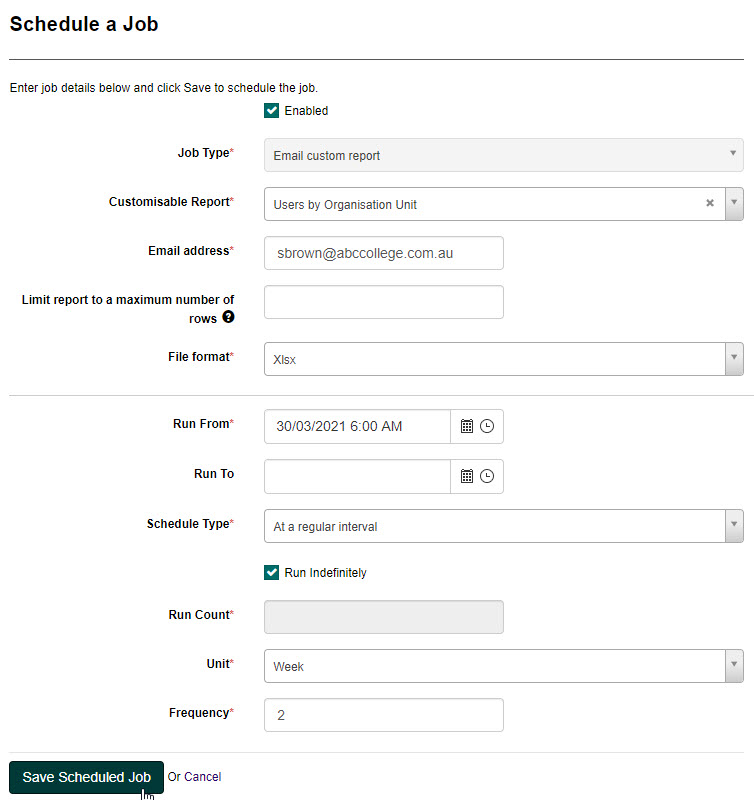
- Select a job type from the Job Type drop-down field. Depending on the job type selected, additional options will appear for you to complete.In this example, we’ve selected Email custom report, so we also have to select which report, enter an email address to send the report to and select how we want the report sent.
- Enter a name for the new job in the Job Name field.
- Complete the following scheduling details:
- Select a date and time from the Run From drop-down field. This field determines when the schedule will begin.
- Select a date and time from the Run To drop-down field (optional). This field will determine when the schedule will end.
- Select an option from the Schedule Type drop-down field as follows:
Option Description At a regular interval This sets the job to run at a regular interval, such as hourly, every 2 days etc.
Once selected, additional options display as follows:
- Run Indefinitely – This option will schedule the job to run with no end date
- Run Count – This determines the number of times the schedule will run
- Unit – This indicates the unit of time – minute, hour, day or week
- Frequency – This indicates how often the job will run
The following example will run the job twice every 2 weeks.

At scheduled times This sets the job to run at a scheduled time.
Once selected, additional options display as follows:
- Time Zone – This is where you select your time zone
- Time of Day – This is where you select the time of day you want the job to run
- Frequency – This indicates how often the job will run – every day, Monday to Friday, Monday to Saturday or a specific day
The following example will run the job at 6.00am Monday to Friday using UTC+10:00 time zone.

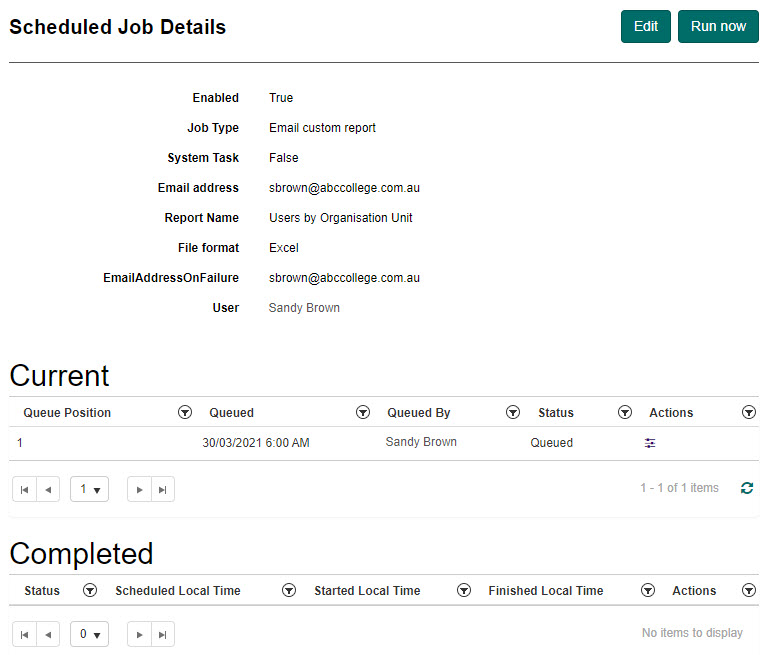
- Select the Save Scheduled Job to save your changes.The Schedule Job Details screen will display with your saved job.
To schedule a new job:
- Select the Schedule a Job button.
- Complete the following job details:
- Enter a name for the new job in the Job Name field.
Tip
Once created, this name can’t be changed.
- Ensure the Enabled checkbox is selected if you want the job to be active.
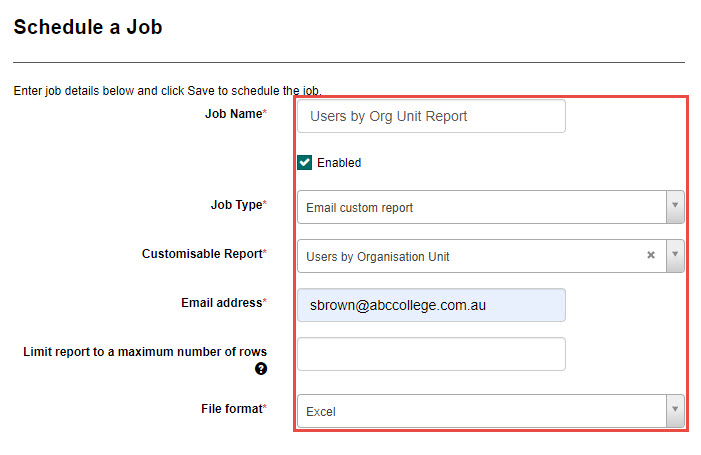
- Select a job type from the Job Type drop-down field. Depending on the job type selected, additional options will appear for you to complete.In this example, we’ve selected Email custom report, so we also have to select which report, enter an email address to send the report to and select how we want the report sent.
- Enter a name for the new job in the Job Name field.
- Complete the following scheduling details:
- Select a date and time from the Run From drop-down field. This field determines when the schedule will begin.
- Select a date and time from the Run To drop-down field (optional). This field will determine when the schedule will end.
- Select an option from the Schedule Type drop-down field as follows:
Option Description At a regular interval This sets the job to run at a regular interval, such as hourly, every 2 days etc.
Once selected, additional options display as follows:
- Run Indefinitely – This option will schedule the job to run with no end date
- Run Count – This determines the number of times the schedule will run
- Unit – This indicates the unit of time – minute, hour, day or week
- Frequency – This indicates how often the job will run
The following example will run the job twice every 2 weeks.
At scheduled times This sets the job to run at a scheduled time.
Once selected, additional options display as follows:
- Time Zone – This is where you select your time zone
- Time of Day – This is where you select the time of day you want the job to run
- Frequency – This indicates how often the job will run – every day, Monday to Friday, Monday to Saturday or a specific day
The following example will run the job at 6.00am Monday to Friday using UTC+10:00 time zone.
- Select the Save Scheduled Job to save your changes.The Schedule Job Details screen will display with your saved job.
Edit a scheduled job
To edit an existing job which has already been scheduled:
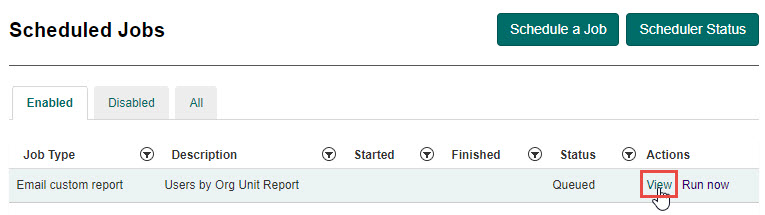
- From the Scheduled Jobs screen, select the View link next to the job you wish to edit.
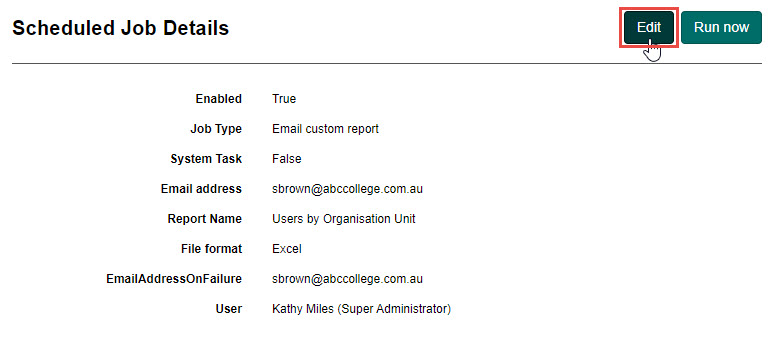
- Select the Edit button.
- Make the necessary changes, then select the Save Scheduled Job button.
Run a job now
To run a scheduled job immediately:
- From the Scheduled Jobs screen, select the Run now link next to the job you wish to run.

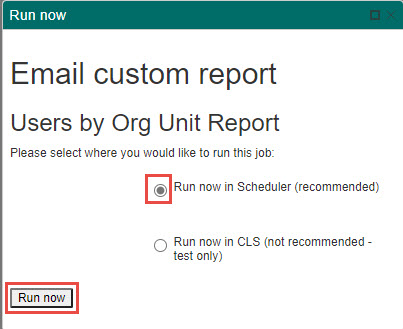
- Ensure Run now in Scheduler is selected, then select the Run now button.
Stop a scheduled job
To stop a scheduled job from running:
- From the Scheduled Jobs screen, select the View link next to the job you wish to edit.
- Select the Edit button.
- Uncheck the Enabled checkbox.
- Select the Save Scheduled Job button to save your changes.