User settings
In Janison Insights it’s possible to make configurations to the Users in terms of how they are viewed, added and edited in the Manage People > Users section of the system.
In addition, self-registration forms and portfolio functionality can be activated and data sets added.
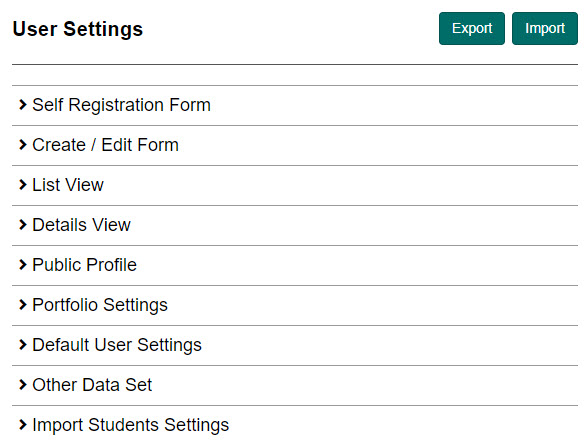
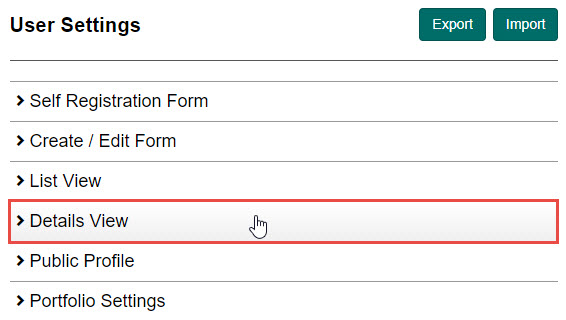
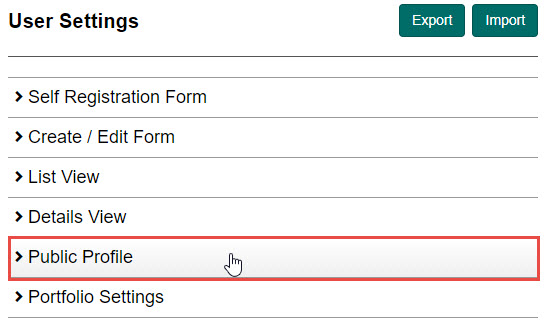
To do this, navigate to Settings > User Settings. The User Settings screen will be displayed.
Common fields
There is a common set of fields in the various forms and views across the system. It’s possible for Administrators to configure the way these fields are presented to Users.
Each form and view can be customised individually. For example, you can have date of birth visible on one form but hidden in another view. Below are the forms and views containing these common fields:
- Self-Registration Form
- Create / Edit Form
- List View
- Details View
- Public Profile
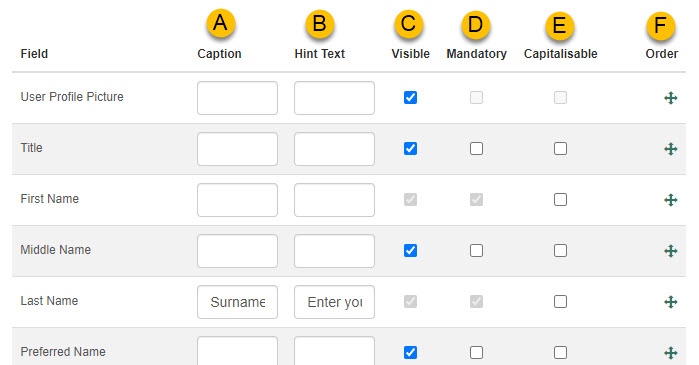
There are slight variations to the columns available per form and view. The key settings and fields are:
| # | Item | Description |
|---|---|---|
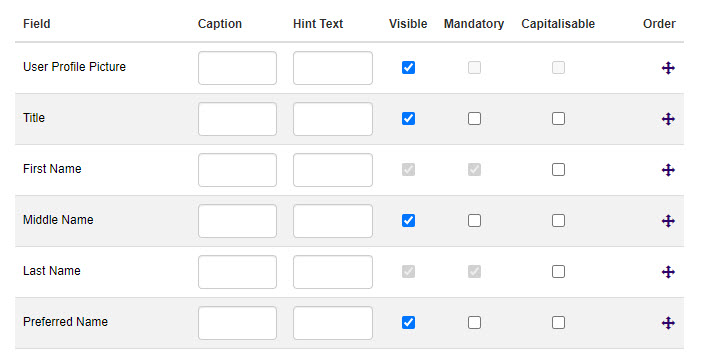
| A | Caption | A Caption can be added to the field if you want to use a different term to the system, eg. Surname instead of Last Name.  |
| B | Hint text | Adding hint text will place an icon next to the field, which when hovered over will display the hint text entered.  |
| C | Visible | Checking visible makes only the relevant fields visible, which provides the flexibility to hide the fields you won’t use. |
| D | Mandatory | Checking mandatory makes a field marks it as mandatory on the field (the User must complete it) and places an asterisk next to it to indicate this.  |
| E | Capitalisable | Checking capitalisable means that anything entered in that field will automatically be capitalised. |
| F | Order | Dragging on the ordering icon, you can change the order of the field up and down in the list. |
Configuring the forms and views
Self-Registration Form
The fields and options of the Self-Registration Form can be customised in many ways.
Tip
See the Set up self-registration section for a recap of what self-registration is.
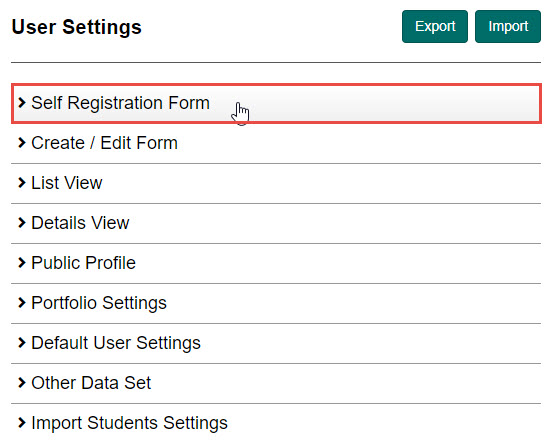
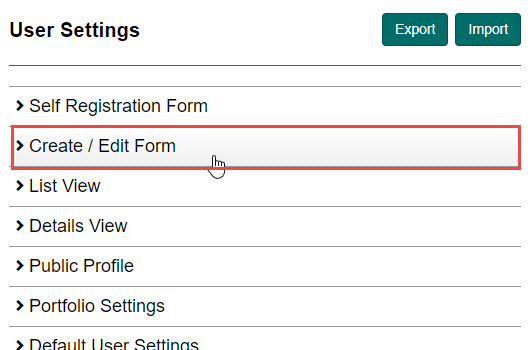
- To customise this form, select User Settings from the left-hand Settings menu.
- Select the Self Registration Form expandable section.
Make the relevant selections as follows:
| # | Item | Description |
|---|---|---|
| A | Self-registration | The default option for this is Disabled. You can choose to enable with the following options:
|
| B | Email validation | Email validation ensures that only Users with a valid email address can register. Upon registering, the User will receive an email with a link to activate their account and set a password. Selecting the option to skip validation will bypass the email validation and sign the User directly into the site. |
| C | Auto-generate password | The system can automatically generate passwords for Users. This should only be set under special circumstances such as in an assessment event. Tip This option is only valid if password generation has been enabled. To learn how to do this, see the Password generation section. |
| D | Allowed Email Masks | If an email domain is entered here, Users will only be able to register if their email belongs to one of the entered domains. In the following example, ‘janison.com’ has been set as an allowed email mask, therefore the entered email doesn’t meet the requirement and the User will see a warning notification.  Wildcards are permitted and are indicated with an asterisk (*), eg. ‘*.com.au’ restricts the email addresses to those that end in .com.au. |
| E | Username Generation | This option allows you to specify the format in which the system will generate usernames, using either the email address or a combination of the User’s first and last name. 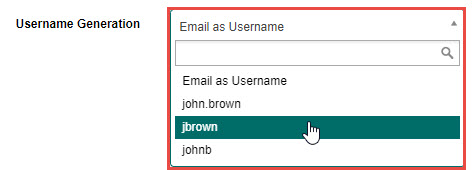 |
| F | Main Role | By default, Users will be assigned the role of Basic User. If you have the self-registration form on a separate page selected, this can be customised to another role if required.  Tip For security reasons, in-built System Administrator roles are not available for selection. |

Configure the common fields to your desired requirements. The options available are:
- Add a caption
- Make a field visible
- Make a field mandatory
- Add capitalisation
- Change the order of appearance

Tip
See the Common fields section for more information on how to do this.
- If you would like to be able to automatically enrol Users into catalogue items upon self-registration, select an option from the Group Type drop-down. For example, you can enrol Markers into training based on their Marking Group.
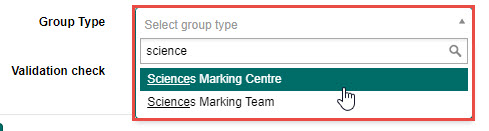
This Group Type will now appear as a field on the form which you can add a caption to, make visible and/or mandatory if required. You can also move the field to the appropriate place on the form.

Tip
To learn how to set up the Group Types and Groups prior to this step, see the Groups and Group Types section.
- If you would like the system to validate the information entered during self-registration, select an option from the Validation check drop-down.

By default, this shows the options of Last Name and Email and will validate that either email addresses or last names are unique or that a combination of the two is unique. If you have selected a Group Type to auto-enrol, the Group Type will also appear in the list of options to validate.
If the email and or last name exists in the system, feedback will be provided to the User:

- Select the Save Settings button to save the changes.
Create / Edit Form
The Create / Edit Form is found under Manage People > Users where Users are created and edited.
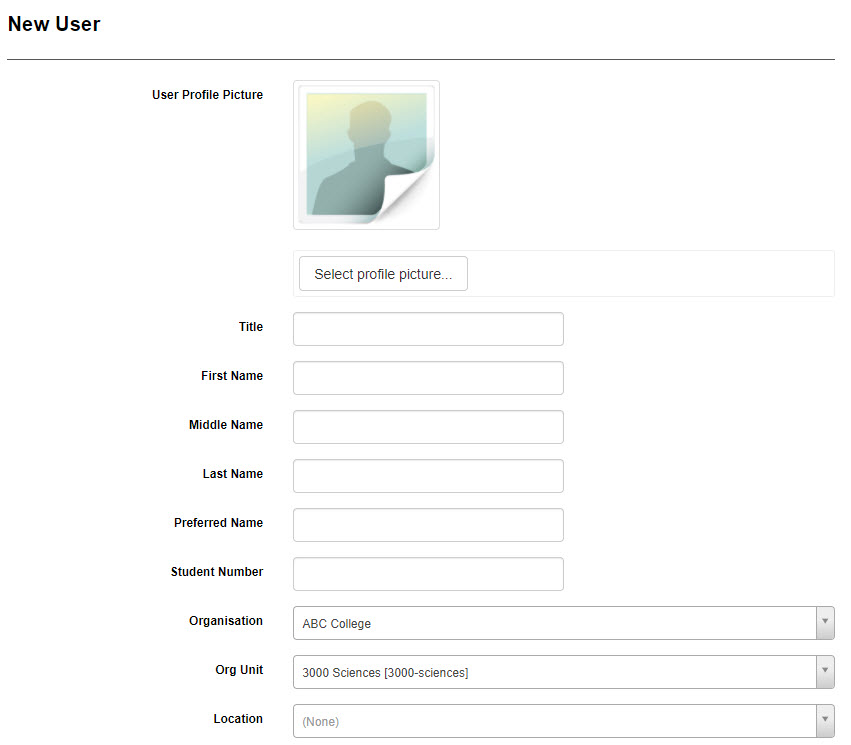
- To customise this form, select User Settings from the left-hand Settings menu.Select the Create / Edit Form expandable section.
- Make the relevant selections as follows:
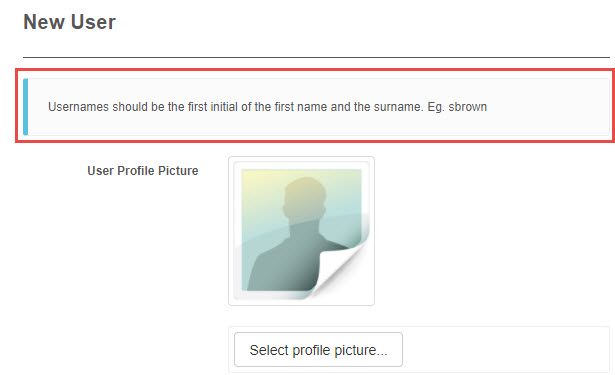
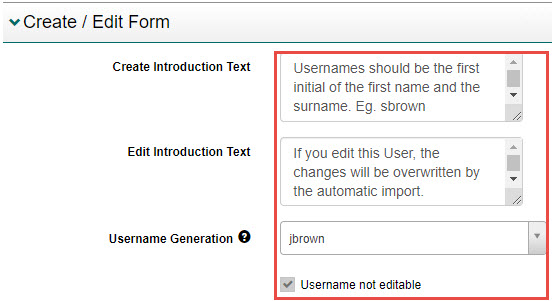
# Item Description A Create Introduction text This option allows us to add custom text which will be displayed as a snippet to Administrators when they create new Users on the New User screen.
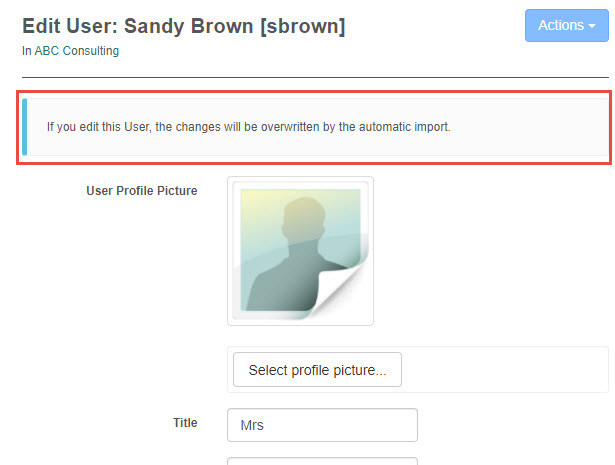
B Edit Introduction Text This option allows us to add custom text which will be displayed as a snippet to Administrators when they edit existing Users on the Edit User screen.
C Username Generation This option allows you to specify the format in which the system will generate usernames, using either the email address or a combination of the User’s first and last name.

D Username not editable If this option is selected, the username field will be locked and cannot be edited even when in the Edit User screen.

Configure the common fields to your desired requirements. The options available are:
- Add a caption
- Add hint text
- Make a field visible
- Make a field mandatory
- Add capitalisation
- Change the order of appearance
Tip
See the Common fields section for more information on how to do this.
- Select a Group Type from the Group Type drop-down if you would like to add this field to the Create / Edit Form.

- Select the Save Settings button to save the changes.
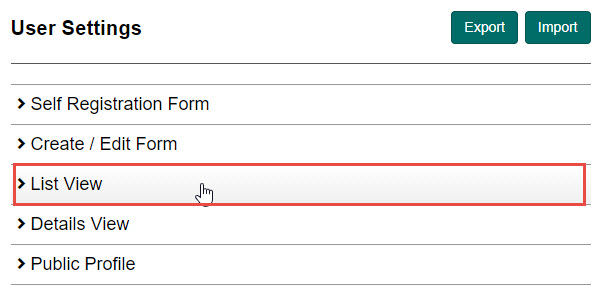
List View
The List View is the displayed fields for the list of Users found under Manage People > Users. The following image shows there are currently seven fields (shown in columns) displayed.

To customise the fields displayed in this view, select User Settings from the left-hand Settings menu.
- Select the List View expandable section.
- Enter text into the List Introduction Text field if you would like to add custom text which will be displayed as a snippet to Administrators when they view the User list.

Configure the common fields to your desired requirements. The options available are:
- Add a caption
- Add hint text
- Make a field visible
- Allow batch edit
- Change the order of appearance

Tip
See the Common fields section for more information on how to do this.
Batch editing is only applicable to custom attributes and provides the functionality to edit the information for one or more Users at the same time. To see more about how to set up custom attributes and batch editing, see the Assign custom attributes to Users via batch edit section.
- Select the Save Settings button to save the changes.
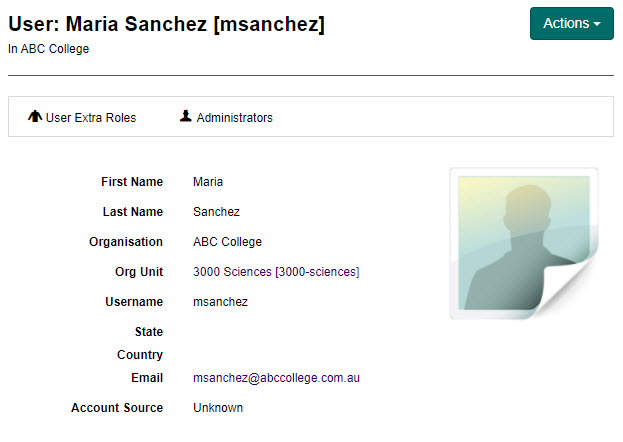
Details View
The Details View is the displayed fields on the User Details screen found under Manage People > Users.
- To customise the fields and options displayed in this view, select User Settings from the left-hand Settings menu.
- Select the Details View expandable section.
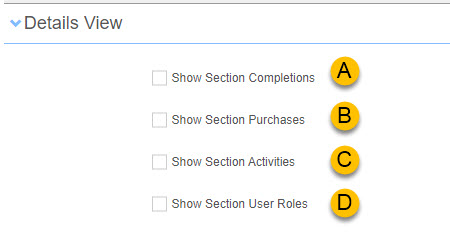
- Make the relevant selections as follows:
# Item Description A Section Completions This setting makes the Your Completions expandable section visible, showing any completed catalogue item enrolments. If a catalogue item has a certificate attached, it can be accessed by selecting the image icon.
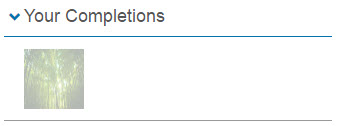
Tip
These items will only appear in the Your Completions section if they have a small thumbnail linked.
B Section Purchases This setting makes the Purchases expandable section visible, which lists all purchases made by the User. If purchases have been made, a link will be displayed which when selected will direct you to the orders.

C Section Activities This setting makes the Activities performed by this user and Activities performed on this user record expandable sections visible. These identify the last 100 activities completed for each.

D Section User Roles This setting makes the User roles expandable section visible which lists all the roles of the User.

Configure the common fields to your desired requirements. The options available are:
- Add a caption
- Make a field visible
- Make a field mandatory
- Add capitalisation
- Change the order of appearance

Tip
See the Common fields section for more information on how to do this.
- Select the Save Settings button to save the changes.
Public profile
Each User in Janison Academy has a public profile which can be viewed on the personal details tile found under Manage People > People.

- To customise the information displayed in a User’s public profile, select User Settings from the left-hand Settings menu.
- Select the Public Profile expandable section.
- Make the relevant selections as follows:
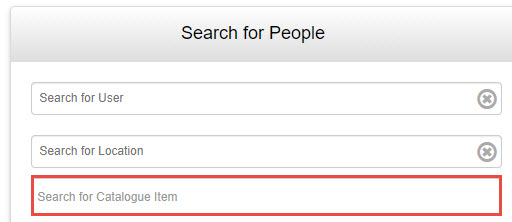
# Item Description A Enable Favourites This option provides the ability to mark other Users as favourites. B Search by catalogue item This option enables a field which allows Users to find other Users who have completed a certain catalogue item (course).
C Enable Advanced Search This option enables the advanced search section with the option to set filters.

D Filter by Org structure This option enables Users to be filtered by Organisation Structure. If this is disabled, the full Organisation structure is available for searching.
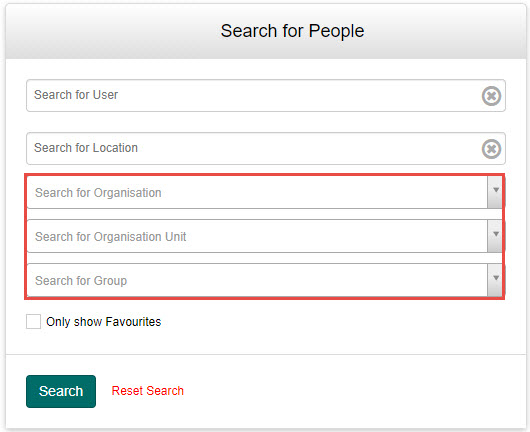
E Display Users within same Group This option enables Users to only see Users that are a member of the same Group(s). If disabled, the Users will be able to see all Users in the tenant. 
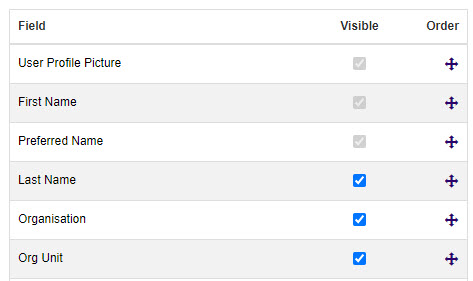
Configure the common fields to your desired requirements. The options available are:
- Make a field visible
- Change the order of appearance
Tip
See the Common fields section for more information on how to do this.
- Select the Save Settings button to save the changes.
Default user settings
It’s possible to create default User settings for when Users are created or imported into the system.
- To create these default settings, select User Settings from the left-hand Settings menu.
- Select the Default User Settings expandable section.

- Make the relevant selections as follows:
# Item Description A Default Organisation Unit This option enables a default Organisation Unit to be set. This means that import spreadsheets do not need to state the Organisation or Organisation Unit, as the User will automatically be assigned the default. B Default Group Membership This option enables a default Group to be set. This means that when a User is registered (either via import or self-registration), they are automatically given membership to the nominated Group(s).
Any added Groups will appear underneath the drop-down option for Default Group Membership.

- Select the Save Settings button to save the changes.