Introduction to test-takers
A test-taker is anyone that has a test-taker role in the system. Test-takers are sometimes referred to as students or candidates.
Navigate to People > Test-takers.
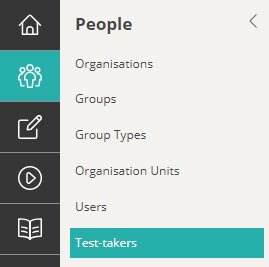
From here you can view, edit and import test-takers.
Import test-takers
The test-taker import is designed to import test-takers directly into their relevant role. The import template is dynamic and admins can easily tailor it to the specific requirements of their institution. It also has the ability to filter test-takers into their relevant groups.
Navigate to People > Test-takers.
Select Import Test-takers from the top right of the screen.
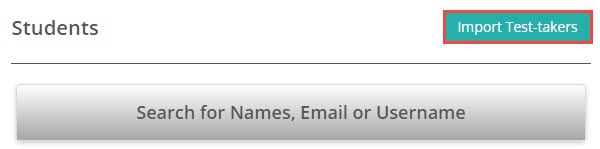
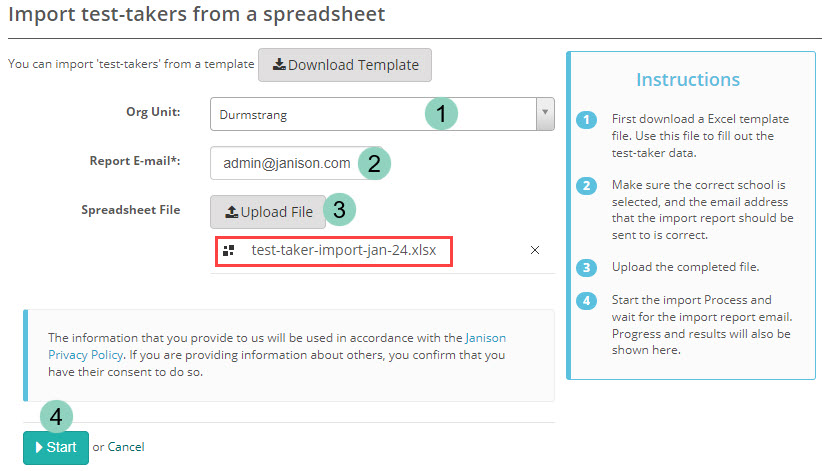
The Import test-takers from a spreadsheet screen displays with onscreen Instructions to the right.
Select Download Template.

The template downloads to your local device. Populate it with your test-taker details and save.

- Select the Org Unit you would like the new test-takers to go into. If you only have access to a single org unit, you won’t see this dropdown.
- The Report E-mail field will populate with the email address of the account you are logged in with, but you can change this if required.
- Upload your Spreadsheet file which will then display under the Upload File button.
- Select Start.
Once imported, the Import Progress screen displays with a summary of your import.

You will also receive a corresponding email with these details included.
Administrator settings
The fields that display on the import template you download from the Import test-takers from a spreadsheet screen can be tailored to match your requirements. These options are only available to system administrators.
Navigate to Settings > User Settings.
Select the test-taker role from the drop-down and Continue.
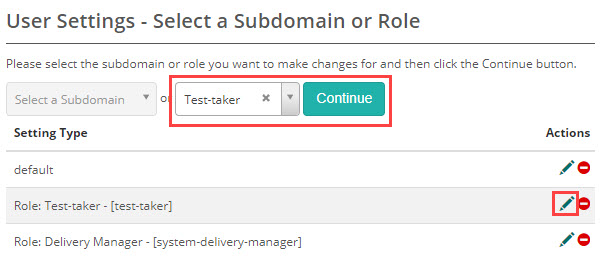
The User Settings for Role Test-taker screen displays.
Create/Edit Form
Expand the Create/Edit Form section.
Not that the First Name and Last Name are system defined mandatory fields, and are therefore greyed out.

- If you would like usernames to be generated, select an option in the Username Generation dropdown.
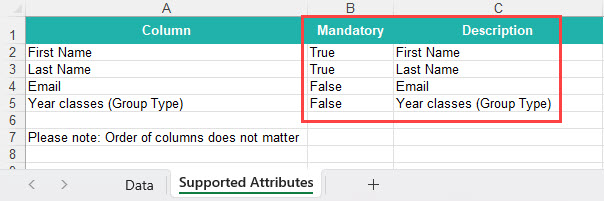
- The Hint Text displays in the Supported attributes tab of the import template as the Description. See the screen capture below.
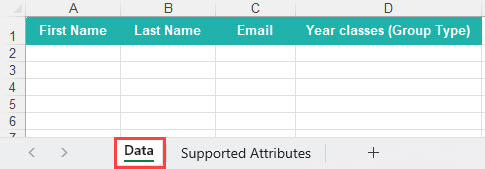
- The fields you set to be visible in this column will display as a field in the header of your import template.
- The options you select as Mandatory will become mandatory fields and will be listed on the Supported Attributes tab in the Mandatory column as highlighted in the screen capture above.
This is the spreadsheet template based on the settings in the User Settings for Role Test-taker screen capture above.
Import Test-taker Settings
At the bottom of the same page, expand the Import Test-takers Settings expandable section.

- Max Import – limits the maximum number of records that a user can import.
- Duplicate Detection – This option allows you to detect duplicate accounts by matching the fields in the Duplicate Fields selector below (C). For example, in this scenario, if an existing account has the same First Name, Last Name and Email address as a record in the import spreadsheet, they will be identified as a duplicate.
You have three choices:
- Detect and update – if a duplicate is detected, the existing account will be updated.
- Detect only – if a duplicate is detected, you will receive notification but no changes will be made to the account.
- Off – there will be no duplicate detection.
- Include groups – By enabling this setting, groups the importing user has scope over will be displayed in the test-taker import template. Note: This will not affect groups allocated to a group type which are already included in the Candidate import template.
- This will enable the importing person to create groups by adding them to the import template.
- This sets the scope of the permissions, options are Default, Organisation or Org unit.