Style (Colours)
Set your site’s colour palette to match your brand.
A style defines the colours for text, links, accents, headers, and footers.

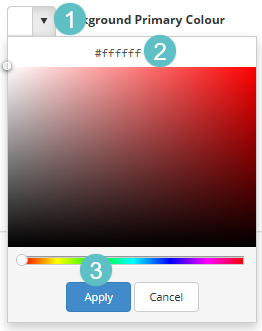
Selecting colours in the Skin editor
- Expand a colour option.
- Paste a hex value (e.g. #0074D9) or use the colour picker.
- Click Apply to preview changes.
Scroll down and Save Skin to keep your custom palette.
Style preview
When you click an element in the Login Skin or Main Skin preview (for example, the header, button, or link), the corresponding colour section below — such as Accent, Background & Border, or Text & Links is automatically highlighted. This makes it easy to see which set of colour controls applies to the part of the interface you selected.
View the video to see how the Preview feature helps you identify which colour settings control different elements of your site.
Images & Logos
Add your logos and images to personalise your site.
You can upload your organisation’s logo, welcome (login) image, and footer logo, plus set icons for browsers and mobile devices.
Steps
- Go to Settings > Style and Images > Images and Logos.
- Click the chevron to expand each section.
- Click Select a file… for each item you want to upload.
- Click Save when finished.
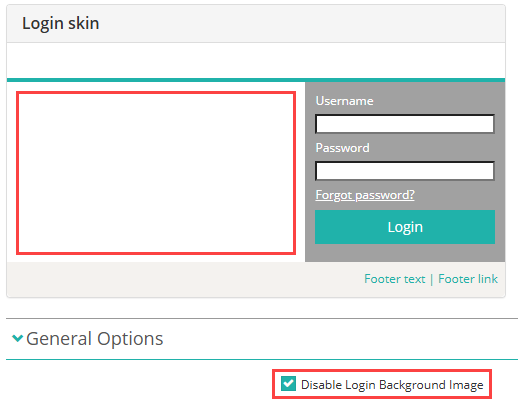
General Options
Disable Login Background Image
Check this option if you would like to disable the background image on the login page.
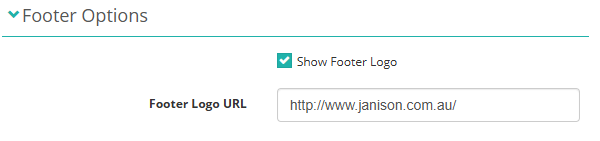
Footer options
This section lets you choose whether to show the footer logo and, if displayed, optionally set a URL for it to link to. AN option to upload the logo is available in the Custom logos and images section below.
Custom logos and images
In the next section you can upload logos and images:
- Header logo – Displays at the top of the screen.
- Footer logo – Optional logo at the bottom of pages.
- Replay Header Logo – Displays in the Replay header. the image file must be transparent and of light colour(s) as it will be displayed against a grey background.
- Test Player Header Logo – Displays in the header on test player pages.
- Print logo – Higher-resolution logo used in reports or exports.
- Login image – The welcome image users see when signing in.
- Favicon – Appears on the browser tab or bookmarks.
- Smart Phone icon – Used when users add the site to their phone’s home screen.
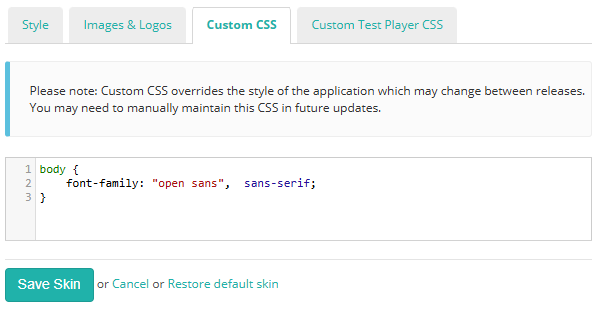
Custom CSS
Add extra styling for advanced customisation.
If you want more control, you can add your own CSS to adjust specific elements.
How to add
- Go to Settings > Style and Images > Custom CSS.
- Enter your CSS code.
- select Save Skin.
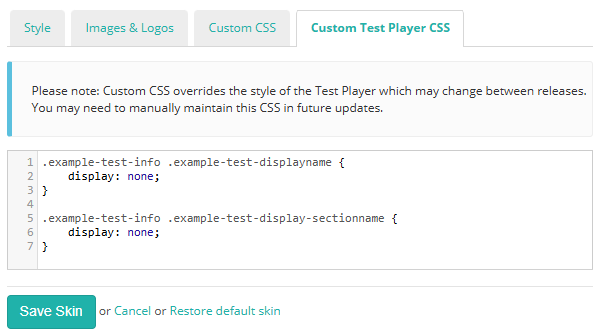
Custom Test Player CSS
Add extra styling for advanced customisation of the Test Player.
This works the same way as Custom CSS, but any changes you make here apply only to the Test Player interface. You can use it to fine-tune the appearance of specific elements during tests.
How to add
- Go to Settings > Style and Images > Custom Test Player CSS.
- Enter your CSS code.
- Select Save Skin.