Short answer audit trail
The short answer (extended text) audit trail page allows administrators to view and promote a test-taker’s response from their answer history, to replace the current answer.
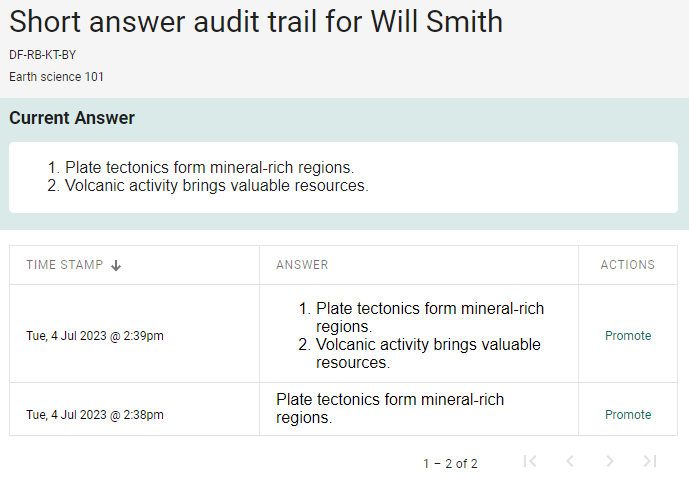
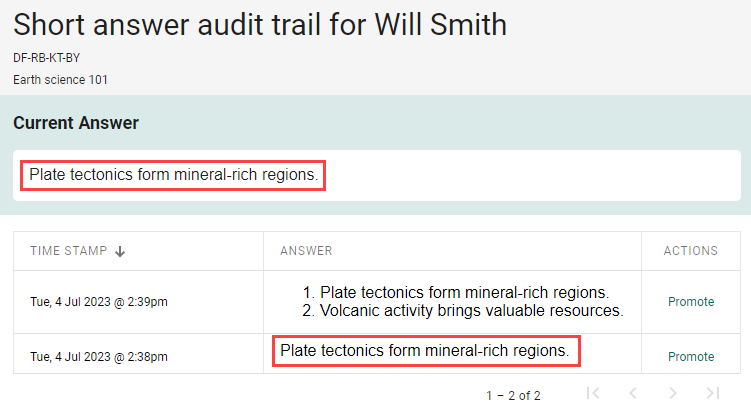
In the example below, there are two versions of the response in the TIME STAMP column. The Promote link provides the option to replace the Current Answer with a time stamped response. There could be more timestamps if the test-taker has made multiple changes.
The TIME STAMP column is sortable.
When are time stamps created?
A time stamp is created when the test-taker selects the Next or Back button in the test player. If they return to an item and change their response, when they select Next or Back again, another time stamp is created.
Administrators can set responses to auto save, and they can set the number of seconds between saves. If set then questions will automatically save at the specified interval.
Navigate to the audit trail page
You can access the short answer audit trail page from two areas in the system:
- The test-taker’s Test attempt page
- The Candidates section of the invigilator dashboard.
Let’s take a look at these two paths to the page.
Test attempt page
There are several pathways to access the test attempt page, in this example, we’ll navigate through the Manage Attempts page.
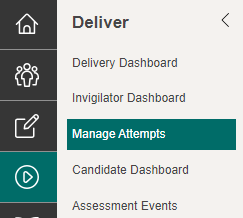
Browse to Deliver > Manage Attempts.
Find the relevant test-taker and select Actions > View Attempt Details.

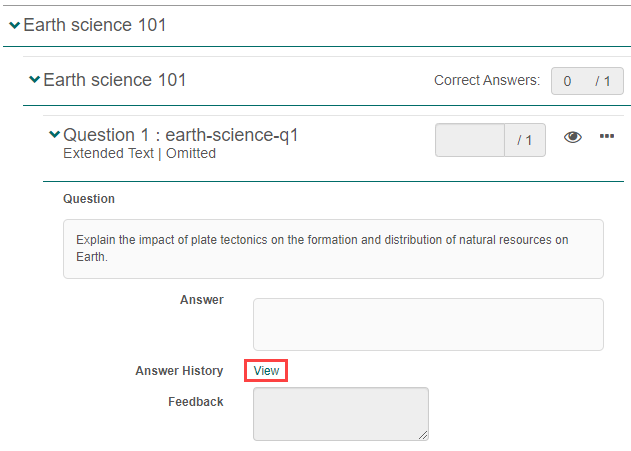
The test-taker’s details will display on a new screen.
Scroll to the item of interest and select the View link next to Answer History.
The test-taker’s answer history for the selected test attempt will display on the short answer audit trail page. We have covered this in detail in the View the audit trail page topic below.
Invigilator dashboard
From the left nav, browse to Deliver > Invigilator dashboard.

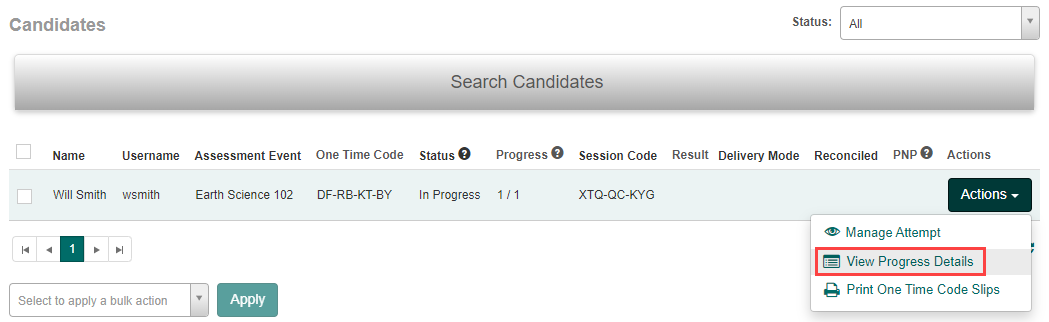
Scroll to the Candidates section and find the relevant test-taker.
Select Actions > View Progress Details.
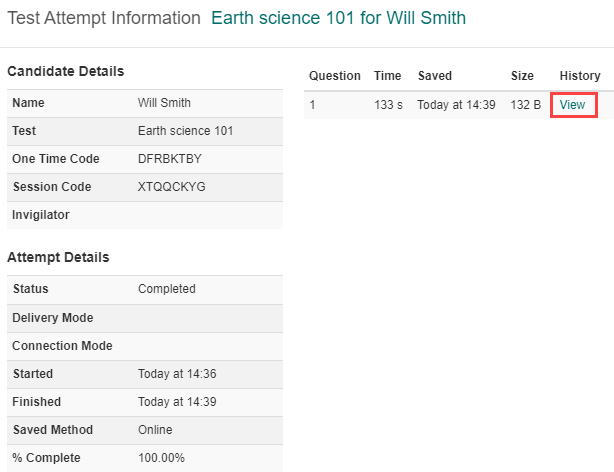
The Test Attempt Information modal displays. Select View under the History column.
The short answer audit trail page will display.
View the audit trail page
This page displays the test-taker’s name, their one-time code, the test name and item number. The submitted response displays in the Current Answer field.
In this example, the test-taker made one change to their original response which you can see in the TIME STAMP column. You can promote that response to the Current Answer field.
Promote a response
To promote a response, the test attempt must be in a Postponed or Completed state. For steps to transition the attempts status, see the topic below on Postpone or complete an attempt.
Select the Promote link next to the response you want promoted to the Current Answer field.

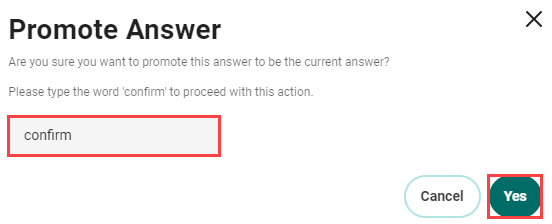
Type confirm and select Yes.
The Current Answer is replaced with the promoted response.
Postpone or complete an attempt
You may encounter a feedback modal when attempting to promote a response, only attempts with the status of Completed or Postponed may have the answers promoted. You can resolve this by transitioning the test attempt status to Completed or Postponed.

Let’s take a look at how to complete or postpone attempts.
Complete an attempt
On the modal mentioned above, select Click here to manage the attempt.

The Test Attempt details page displays. Scroll to the Attempt details section of the page and select Change > Revert to Completed.
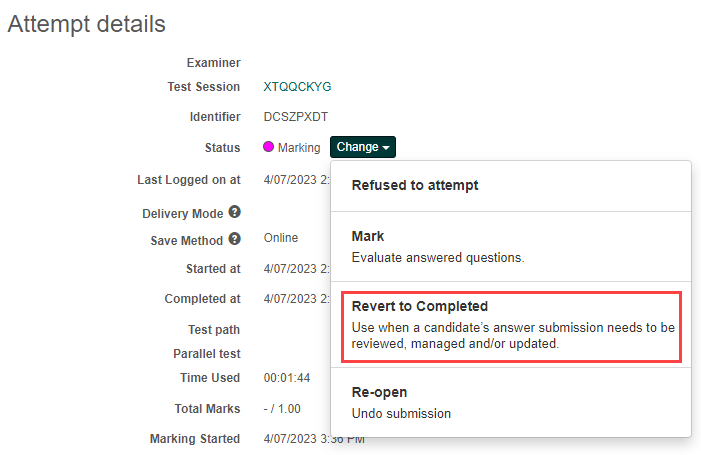
The attempt status will transition to Completed and you can now promote the response.
Postpone an attempt
If you have not finalised your test session, you can postpone a test-taker’s attempt from the test session dashboard.
Select the test-taker and then select Postpone candidate.
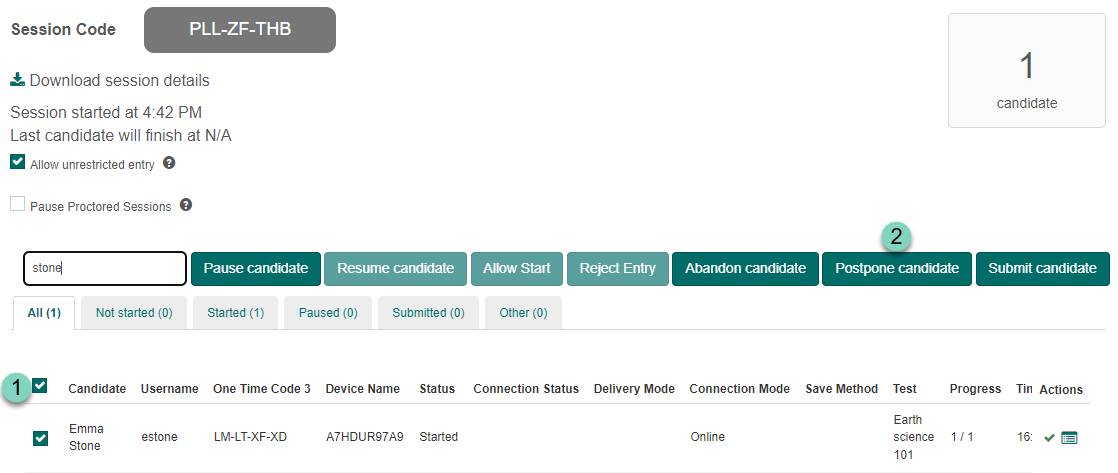
The attempt status will transition to Postponed, you can now promote the response.
Settings
Activate extended text audit trail
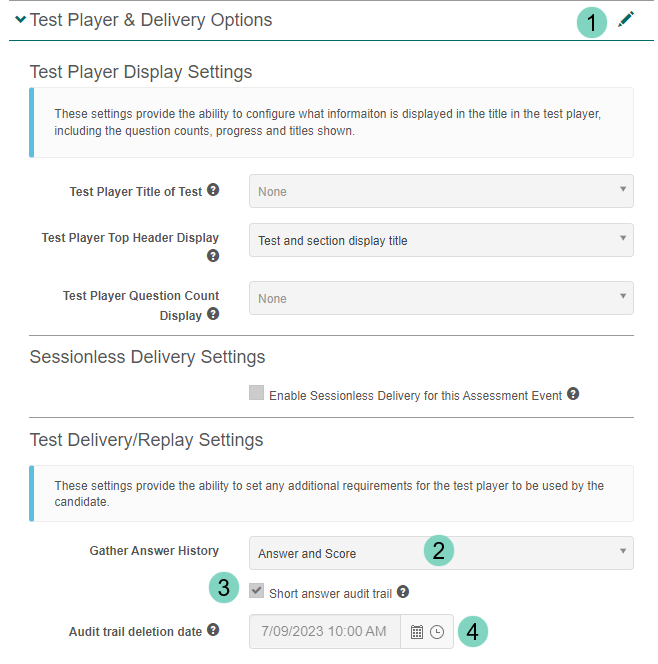
To activate the extended text audit trail feature, navigate to Delivery > Assessment Events and open the relevant event.
- Scroll to Test Player & Delivery Options and select the edit icon.
- Select an option for Gather Answer History.
- Check the box for Short answer audit trail. This enables the feature.
- Select a date for Audit trail deletion date. This date determines when the system will delete the audit trail, after this date, you will no longer be able to retrieve the responses.
Interval between autosaves
To set the number of seconds between auto saves browse to Settings > Test Designer Settings.
Open the Test Authoring Settings expandable and enter the time in seconds you would like the responses saved.
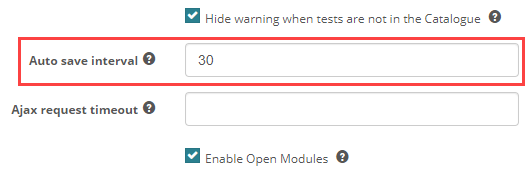
If set, responses will automatically save at the specified interval. The valid range is between 20 and 600.