Modules
Modules are used to organise disciplines into sub-topics. For example, within the science discipline, sub-topics might include Biology, Chemistry, Physics, Earth Science and Astronomy.
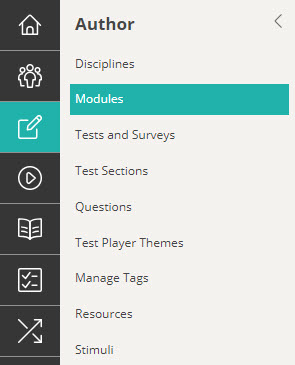
To view or create modules, go to Author > Modules.
Create a module
There are two ways to create modules:
- Manual Creation: If you only need to create one or two modules, it’s best to do this manually.
- Bulk Import: If you need to create multiple modules, using the import feature is more efficient.
Manual Creation
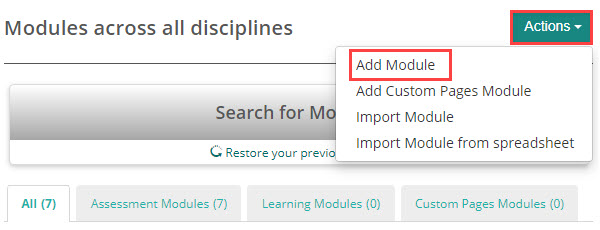
Select Add Module from the Actions dropdown.
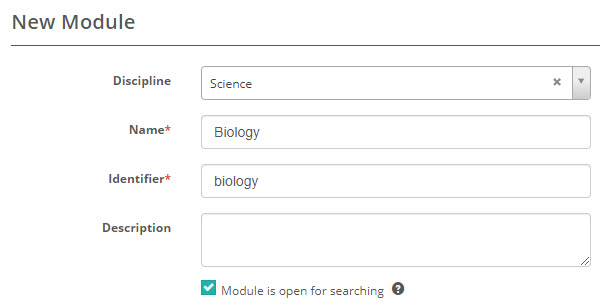
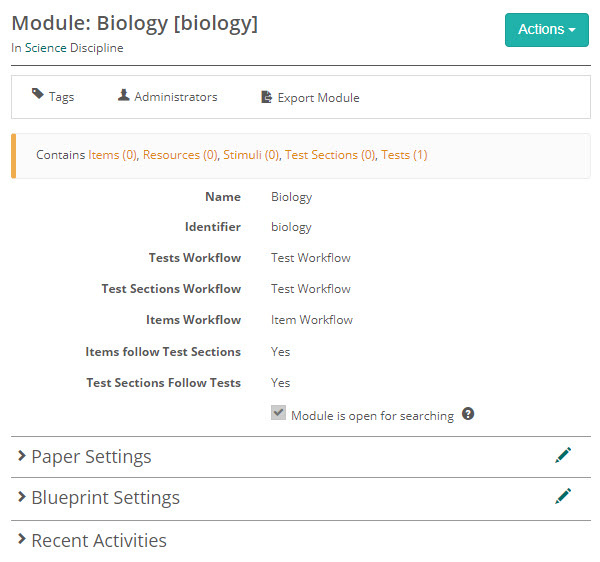
The New Module screen appears. In this example, we’ve selected the Science discipline and named the module Biology.
Module is open for searching
If you select Module is open for searching, items from this module will appear in search results when adding items to tests in other modules within the same discipline.
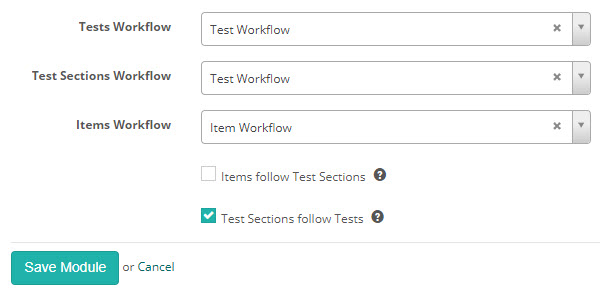
Note that the workflows and related settings are set to the options selected at the discipline level, but can be edited if required. Read more about workflows.
Items follow Test Sections: When enabled, workflow transitions performed on the test section are applied to all of the items in that section. For example if the test section is approved then all of the items will be approved.
Test Sections follow Tests: When enabled, workflow transitions performed on the test are applied to all of the test sections in that test. For example if the test is approved then all of the test sections will be approved.
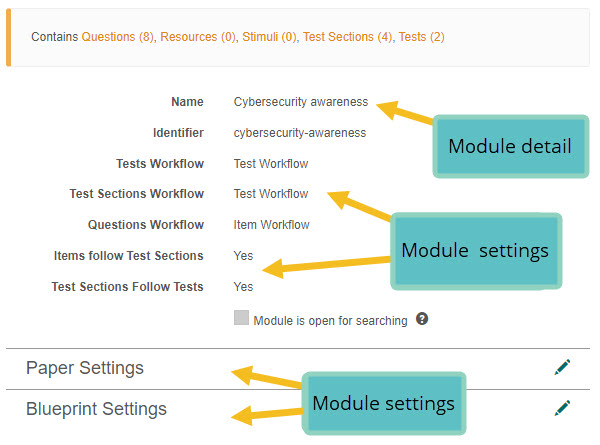
Once saved, the module details screen displays. Additional sections are available for configuration, but these may differ depending on the configuration of your site. In the below example Paper Settings and Blueprint Settings sections display.
The module is now ready for you to add items, resources, stimuli, test sections, and tests.
Bulk Import
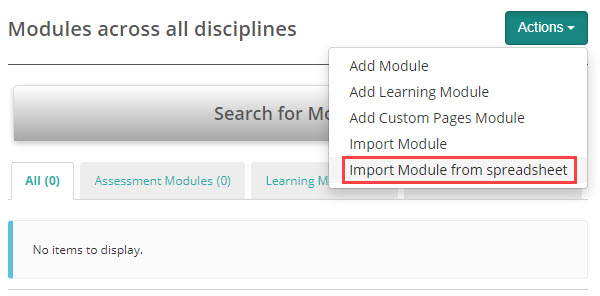
Go to Author > Modules.
Select Import Module from spreadsheet from the Actions drop-down.
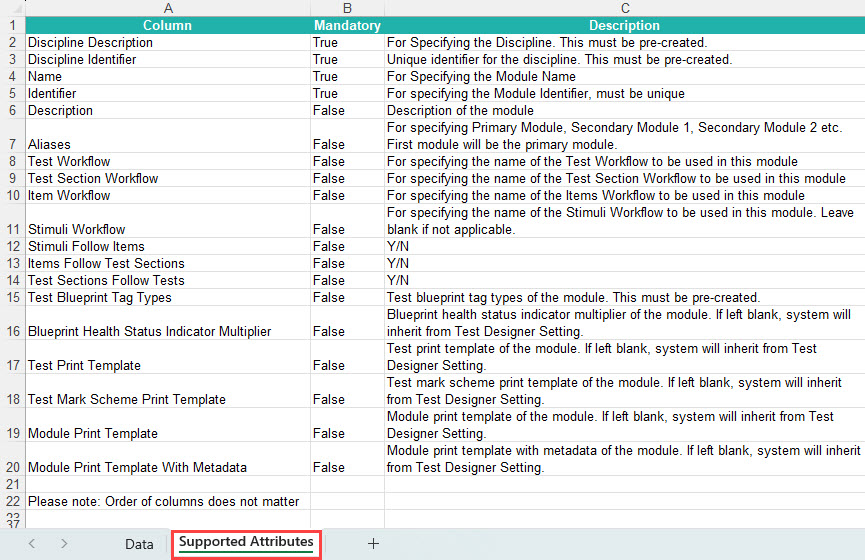
Select the Template link to open a sample Excel template.
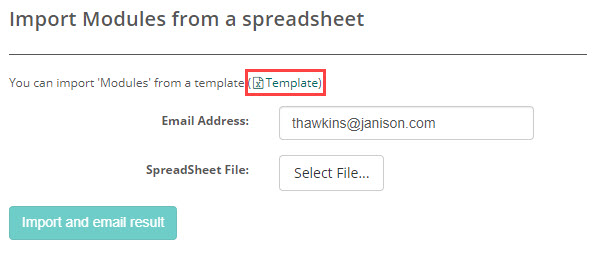
The template includes sample data. Visit the Supported Attributes tab to review mandatory fields and explanations for each field.
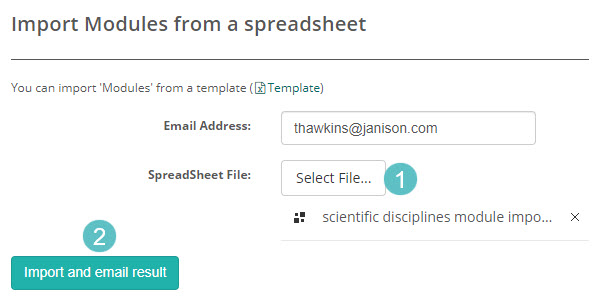
Open the downloaded Excel template, fill in all required data, and save the file to your local device.

- Click Select File to find and choose the saved file on your local device. The uploaded file will then be displayed.
- Select Import and email result.
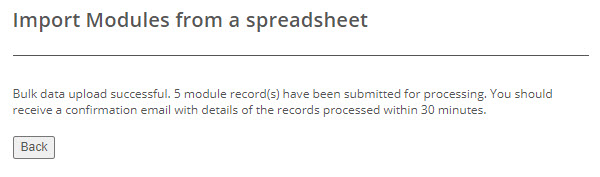
You will see onscreen feedback confirming that the import has been submitted for processing.
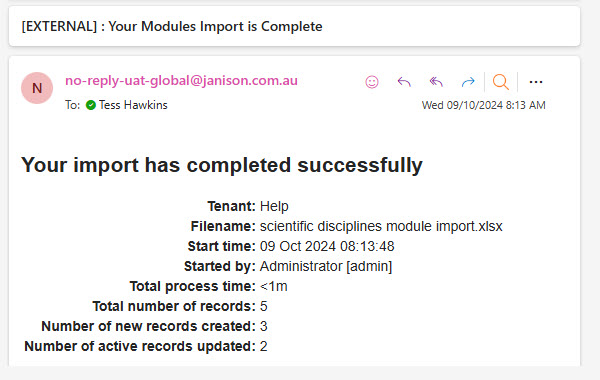
The system will email you the import details. Below is an example of a successful import. If the import fails, the reasons will be listed.
Modules contain sections that vary based on your site’s setup. Two possible sections are Paper Settings and Blueprint Settings.
Paper settings
Paper settings gives you the option to print your tests. Printouts can be handy if you need to deliver the test in a paper-based format, or if you would like to review the test in paper format. You can read more about this topic in our document on paper settings.
Blueprint settings
Blueprint settings allow you to specify a set of tag types that can be used as dimensions for building test blueprints. You can read more about this topic in our document on test blueprints.
Export and import a module
You can transfer modules between sites using the export/import feature. This is ideal if you want to avoid development on your production site. The items, resources, stimuli, tests, and settings of a module are imported to the second site.
Export a module
Open the module you wish to export.
Select Export Module from the actions bar.
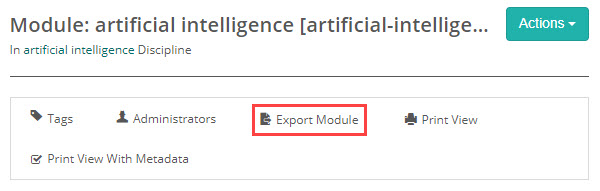
An export file downloads to your local device.
Import a module
The outcome of importing a module can vary depending on whether it’s the first import or a subsequent one. Let’s explore both scenarios.
Go to Author > Modules.
The module list displays.
Select Import Module from the Actions dropdown.
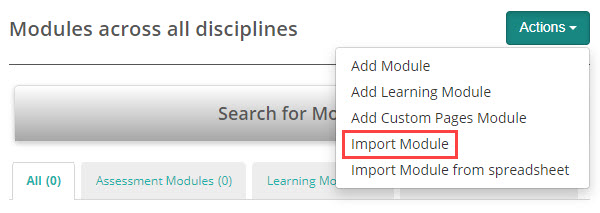
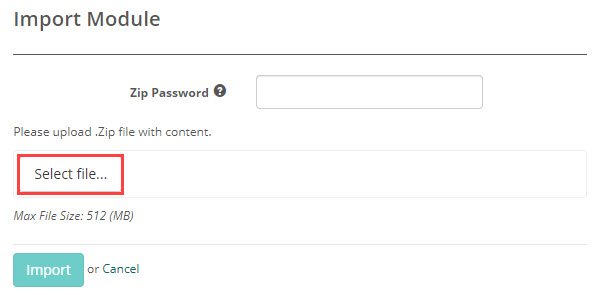
The Import Module screen displays.
Click Select file and browse to the file that downloaded when you ran the module export.
The screen you see next will depend on whether it’s your first time importing the module or if you’ve imported it previously.
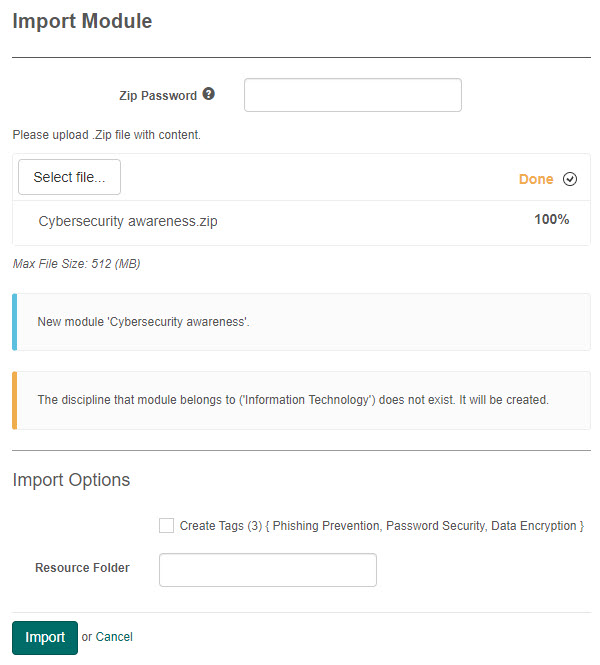
First import
During the first import, the module’s items, resources, stimuli and tests are created. If the module, discipline, and tags don’t exist, they will be created. Creating the tags is optional.
Below is an example of what you might see.
Subsequent imports
If you have previously imported the module, the module’s items, resources, stimuli and tests will be updated.
The notifications you receive will vary based on your site’s configuration. You will have an option to Overwrite Module details and settings during import, we’ve added some details about this setting below. Below is an example of what you might see.
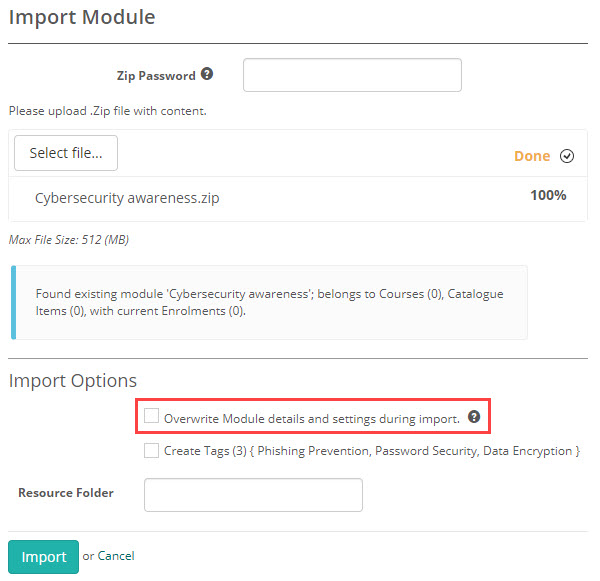
Overwrite Module details and settings during import
When unchecked only the module’s items, resources, stimuli and tests will be updated. The discipline and module details and settings will not be updated.
When you check this option, the module details such as the name and description will update to reflect the differences in the import file. Settings, including workflows and any settings within displayed sections, will also update.
Zip password
You can secure the export file by enabling a password protection setting.
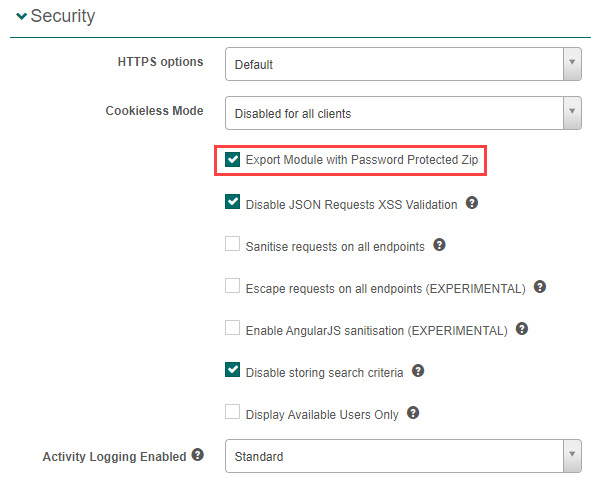
Go to Settings > Tenant Settings and expand the Security section.
Select the option Export Module with Password Protected Zip.
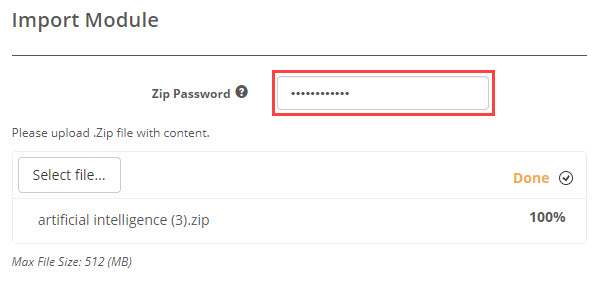
With this setting active, when you export the module, a screen displays with a password and button to Download the file.
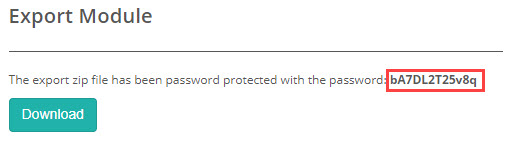
When you do the module import, it will be necessary to enter the password or the import will fail.