Assessment Modules
Introduction
There are three different kinds of Modules in the CLS. These play different roles in the system and hence have different structures. Read more. This section of the Help site covers Assessment Modules, that is, Modules that are specialised for the assessment of knowledge.
You create an Assessment Module as a kind of parent. It has Tests, Questions, Surveys and Media Resources that belong to it and various settings that can also be inherited, such as workflow settings and the Test Player’s skin.
However, as the diagram shows, you do not link an Assessment Module to the Catalogue Item directly.
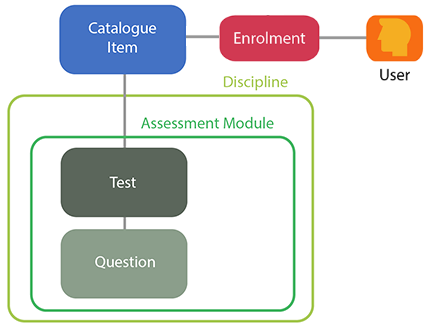
Instead, a Catalogue Item is linked to one or more Tests that belong to Assessment Module(s) and are hence Assessment Tests. Candidates undergo assessment when they are enrolled in such a Catalogue Item and they encounter the Test(s) in the Test Player. Note that a Catalogue Item can link to more than one Test, and these Tests do not all have to be in the same Assessment Module.
Each Test is linked to one or more Questions that belong to the same Assessment Module. There are many types of Assessment Questions that can be created, see Assessment Question types.
Remember that when you create an Assessment Test you specify the Assessment Module that it belongs to. However, the Test must be directly linked to an enrollable Catalogue Item in order to be presented to the User in a Test Player; merely belonging to an Assessment Module will not present it in the Test Player.
Modules are managed by selecting Design > Modules.
Manage
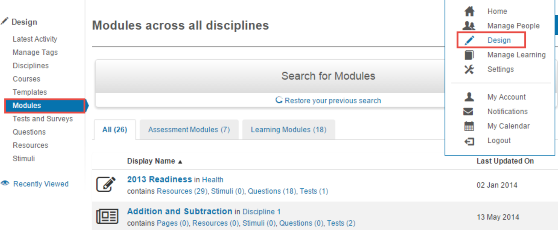
Assessment Modules are managed by selecting Design > Modules.
The screen shows all of the Modules in all Disciplines, divided into three categories.
- Click the Assessment Modules heading to show the Assessment Modules.
- Click the Search bar to search within the Assessment Modules.
- Enter search word in the search field.
- Click Search.
- The search results will appear.
- To perform another search click Reset Search.
- You can order the list of Modules by name or date of last update by clicking the heading names.
- The name of each Module in the list is also a link to its details screen.
The list of the Module’s linked entities: Resources, Stimuli, Questions, Test Sections and Tests also functions as links to further details about these entities.

Note that Users who only have authoring permissions in the scope of one Module will not be able to see a list of all Modules.
Inspect Details
Inspecting a Module’s details gives you access to information about it and connections to its linked entities, e.g. Tests. You can also add and edit other characteristics.
To inspect an Assessment Module’s details navigate to Design > Modules and click the Module name. This takes you to its details screen which displays:
- The type and name and of the Module and the Discipline it belongs to (a clickable link).
The widget bar is underneath this. Of particular note are:
- The Tags widget. Modules can be tagged as a way of categorising and locating them, see Linking Tags for information on how and why to do this.
- The Administrators widget: you can click this to view and edit Users with various Roles over the Module, see Administrators Widget for details.

- Click Export Module Module to a zip file. This activity is password-protected. A password is generated when the zip file is created and it must be entered by a User attempting to import this file. Make a note of the password when you export the Module and keep it somewhere safe.
- Click Secure Export Module to export the Module to a token file.
- The next section lists the entities that belong to this Module (Questions, Tests, etc). These are clickable links that will allow you to examine the items and add further entities to the Module.
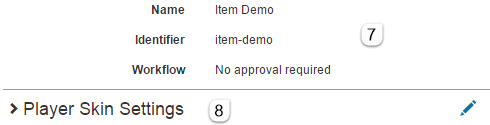
- The middle section displays the Name, Identifier and Workflow status of the Module.
- Click Player Skin Settings to open the collapsible window and inspect the skin selected for the Test Player. Click the pencil icon if you want to change this selection and click Save Player Skin Settings.
Add an Assessment Module
To add an Assessment Module, select Design > Modules and select Add Assessment Module from the Actions drop-down menu.

In the next screen you enter:
- The Discipline the Module will belong to.
- The Name and Identifier of the Module.
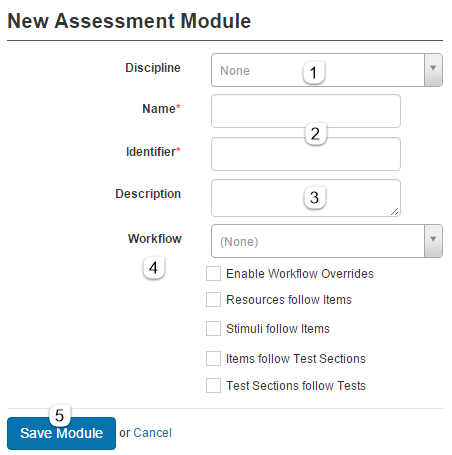
- You can add an optional Description if desired.
- If Workflows have been enabled and you want to use them, select the desired Workflow definition and settings. See the workflow document for details.
- Click Save Module to save the Module.
The next screen is the details screen for the newly-created Module. This enables you to manage various aspects of the Module, for example you can create a Test that belongs to the Module via this screen, see Inspect Assessment Module details for details.
Edit a Module
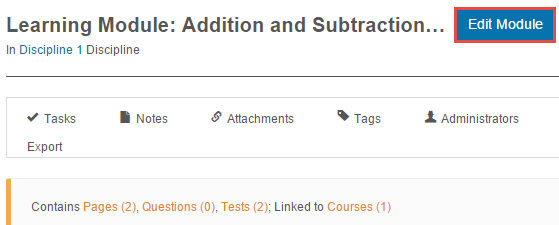
To inspect a Module navigate to Design > Modules and click
the Module name.
Click Edit Module.
The edit screen will allow you to change the basic information entered when the Module was created, see Add a Module for details.
Note that the inspection screen for a Module also provides editing functionality, as well as links to the entities belonging to that Module. For a full list of what you can do, see Inspect Assessment Module details.
Export a Module
There are three options for exporting and copying Assessment Modules:
- Export a Module to a zip file. This activity is password-protected. A password is generated when the .zip file is created and it must be entered by a User attempting to import this file. Make a note of the password when you export the Module and keep it somewhere safe.
Note that exported Modules can only be imported into the CLS and are not compatible with other Learning Management Systems.
- Secure Export a Module to download it as a token file.
- Deep Copy the Module and its related entities.
The first two options are performed via the inspection screen for an Assessment Module, see Inspect Assessment Module details. The third, Deep Copy, makes a copy of the Module together with all related entities, see Deep Copy Assessment Module.
Deep Copy a Module
To copy a Module navigate to Design > Modules and click the Module name.

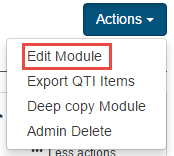
Select Deep Copy from the Actions drop-down menu to make a copy of the Module together with all its related items: Tests, Test Sections, Questions and Resources.
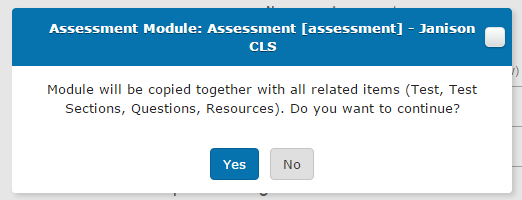
Click Yes.
The copy could take some time depending on the complexity of the Module and its related items but the end result is a new Assessment Module with (Copy) at the end of its name
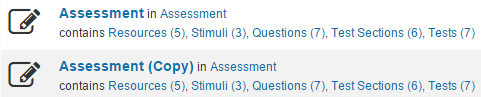
All of the Module’s related items (Resources, Stimuli, etc) are also copies and have (Copy) appended to their own names too.
The Module and the entities involved are all independent of their original versions. Thus, changing the copies does not affect the originals.
Import a Module
You can import a CLS Module that has been previously exported as a zip file. Navigate to Design > Modules and select Import Module from the Actions drop-down menu.

- Click Select to browse to the zip file on your local hard drive.
The file will be checked and you will be advised whether it can be imported successfully.
You may receive a warning that Discipline does not exist, but this can be ignored.
- Enter the password that was created when the Module was exported.
- Select your import options. If you do not check Overwrite Module details and settings during import then the Module’s Questions, Resources, Stimuli and Tests will be updated but the Discipline and Module details and settings will not.
- Enter a Resource Folder where the Resources for this Module will be stored.
- Click Import.
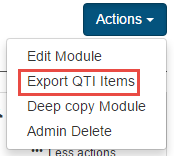
Export QTI Items
Question and Test Interoperability (QTI) 2.1 is a specification standard that defines a format for the representation of question content and results. It allows assessment materials to be authored and delivered on multiple systems interchangeably.
In the CLS, all QTI compliant questions in an Assessment Module can be exported directly from its details page. To do so, select Export QTI Items from the Actions drop-down menu in the Module’s details page, see QTI for full details.
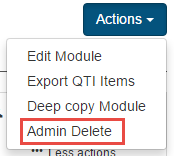
Admin Delete a Module
To delete an Assessment Module navigate to Design > Modules and click the Module name. This takes you to its details screen
Click Admin Delete.
This is a serious and irreversible action that also deletes the entities that are only part of this Module. The following list for an example Module indicates the range of entities involved:
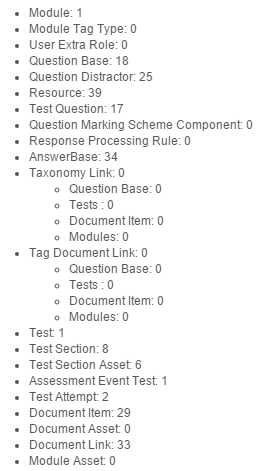
Because of the seriousness of this action, a second, high-level Admin User is required to authorise the deletion.
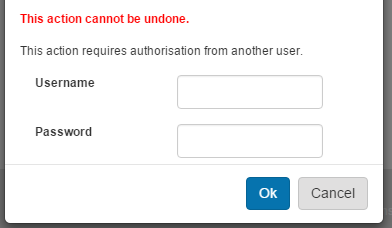
If this person clicks OK then the Module and all the entities that belong to it are permanently deleted.