Marking and annotation
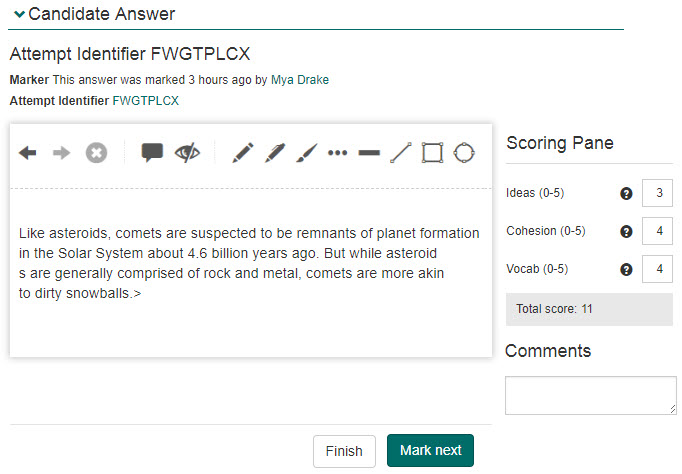
When marking candidate scripts, Markers have the option to add annotations (notes for the candidate). The tools available to do this will depend on what has been configured in the Marking and Annotation Settings section of the Marking Project screen.

You can also set the marking mode to holistic or discrete.
Annotation tools can be configured at three different levels:
- Administrators can add custom annotations for use in any marking project in Marking Extended Settings > Marking & Annotation
- Chief Markers can set annotation settings for all questions in a marking project
- Chief Markers can set annotation settings for each question within a marking project
Tip
To learn about creating custom annotations, see the Marking and annotation section in the Marking settings topic.
Marking annotation settings for a marking project are set by selecting the Edit icon next to the Marking & Annotation Settings expandable section, under Settings & Activities on the Marking Project screen.

In-built annotation tool settings
This section allows you to enable or disable annotation tools and set their colours and weights.
To do this:
- Select the In-built Annotation Tool Settings expandable section.

-
Complete the following:
- Select the Use built-in annotation tools option.
- Select the relevant checkboxes in the Active column to enable or disable annotation tools.
- Enter a number in the Weight fields for the required annotation tools. Weight is a measure of the thickness of lines.
- Select a colour or enter the hexadecimal value in the Colour fields for the required annotation tools.
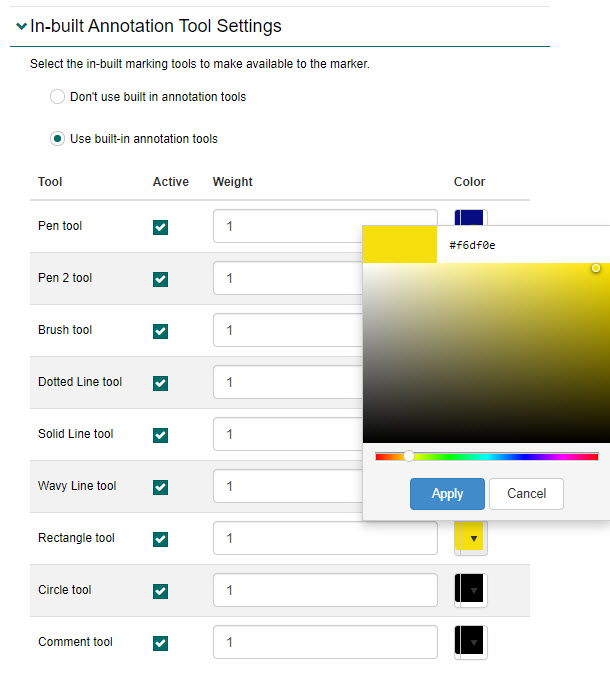
- Select the Save button to save your changes.
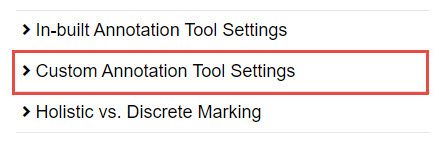
Custom annotation tool settings
This section allows you to enable or disable any custom annotation tools which have been set up as marking project defaults in the Marking Extended Settings > Marking & Annotation section.
Tip
To learn about creating custom annotations, see the Marking and annotation section in the Marking settings topic.
To enable or disable custom annotation tools:
- Select the Custom Annotation Tool Settings expandable section.
-
Complete the following:
- Select an option as follows:
Option Description Don’t use custom annotation tools This will disable the custom annotation tools in this marking project. Use custom annotation tools This will enable the custom annotation tools in this marking project. - If you have enabled the customer annotation tools, you can also enable or disable individual tools by select the checkbox in the Active column.

- Select an option as follows:
- Select the Save button to save your changes.
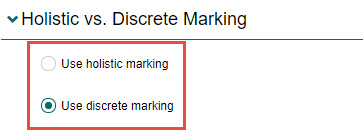
Holistic vs. discrete marking
This section allows you to configure whether marking will be holistic or discrete:
Holistic marking
This is where a score is awarded for a marking scheme component based on the entire candidate response, rather than to specific parts of that response.
Discrete marking
This is where specific parts of a candidate’s response attract marks, eg. key steps in a mathematical equation or correct observations for a science question.
Markers can select a component from the top buttons and place it on the response in one or more positions, to apply the mark to those components. The value for each component will be listed on the button.
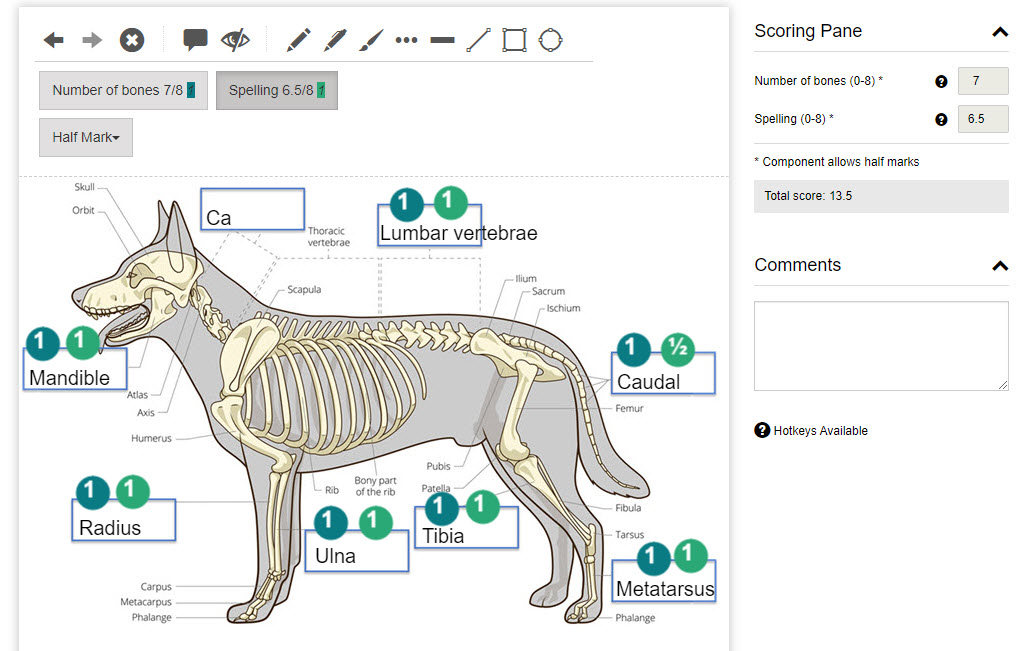
In the above example of discrete marking, the Marking Scheme Component section is locked for editing and updates with the scores assigned by placing the button components on the candidate’s response. This particular example has half marks possible (these have been set up as part of the marking scheme component within the question).
Configuring holistic or discrete marking
Tip
To learn about configuring holistic and discrete marking, see the Set marking annotation per question section.
Set marking annotation per question
Chief Markers can also set marking annotation settings per question in a marking project.
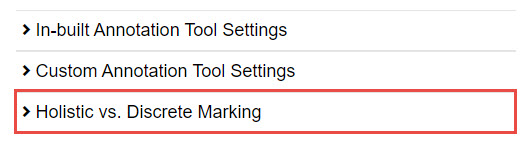
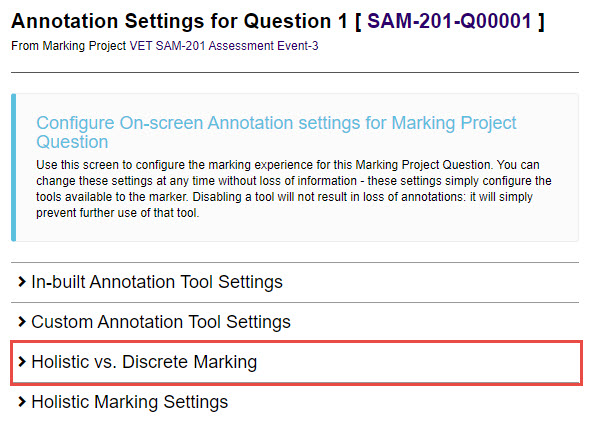
To do this, select the Holistic vs. Discrete Marking expandable section.
Then select the Configure button next to the question you want to configure.

Tip
If there are no marking scheme components set for a question, you will see the following message.

From here you can set the annotation settings for in-built annotation tools and custom annotation tools, but they are at a question level rather than the marking project level.
Setting holistic marking
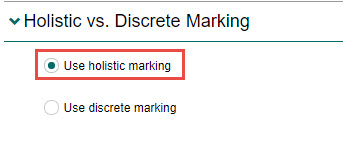
- Select the Holistic vs. Discrete marking expandable section.
- Select the Use holistic marking option.
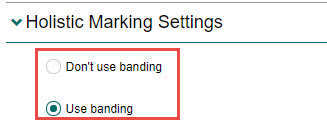
- Select the Holistic Marking Settings expandable section.

- Select an option from the following:
Option Description Don’t use banding This disables the use of banding in the question. Use banding This enables the use of banding in the question.
When using holistic marking, it’s possible to specify a marking aid called banding. This does not impact the score itself, but provides a useful hint to the Marker. Firstly, Markers will determine the band a candidate’s response falls in, and from there, decide the score within the band.
-
Using banding will display additional options. Complete the following to set up your bands:
- Enter a description for each band in the Label field.
- The system will set Band 1 to the minimum mark of the question. Enter the appropriate scores in the First score in Band for the remaining bands.
- Select the Add button.
- Repeat for each new band.
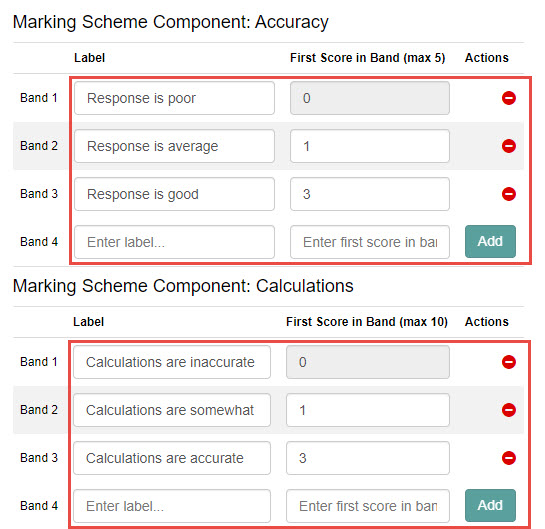
- Select the Save button to save your changes.
Setting discrete marking
- Select the Holistic vs. Discrete marking expandable section.
- Select the Use discrete marking option.
- Select the Discrete Marking Settings expandable section.

-
Complete the following:
- Enter the value of the score in the Tick Score field. This is the value that will appear on the button.
- Set the colour of the button (optional) in the Tick Colour field. If you don’t make any changes to this, the default colours will be used.
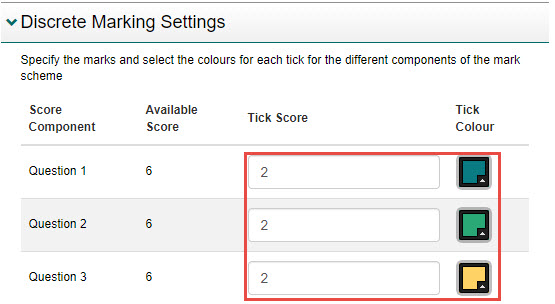
- Select the Save button to save your changes.