

Create a select point interaction item
Navigate to Author > Items.

Select Add Test Item from the Actions drop-down.
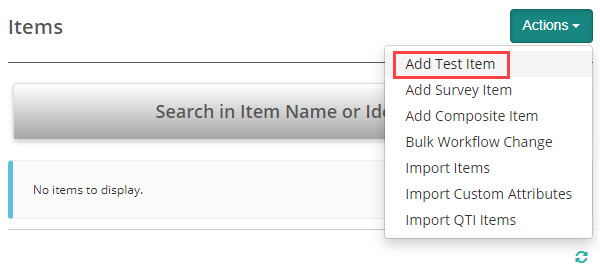
The New Test Item screen displays.
Complete the form as required. Below is an example of an new item we created.
Select Select Point Interaction as the item Type and enter the Item stem.

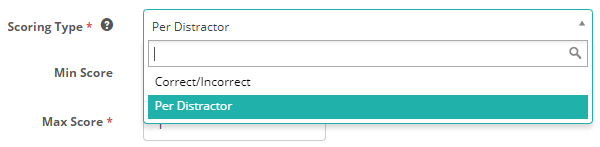
In the next section we set the scoring type.
Scoring Type – The options are Correct/Incorrect and Per distractor. See Setting scores and marking below to learn more about this.
You now have an option to add an Image. Select the image icon.

The resources manager displays. You can either select an existing image or upload a new image.
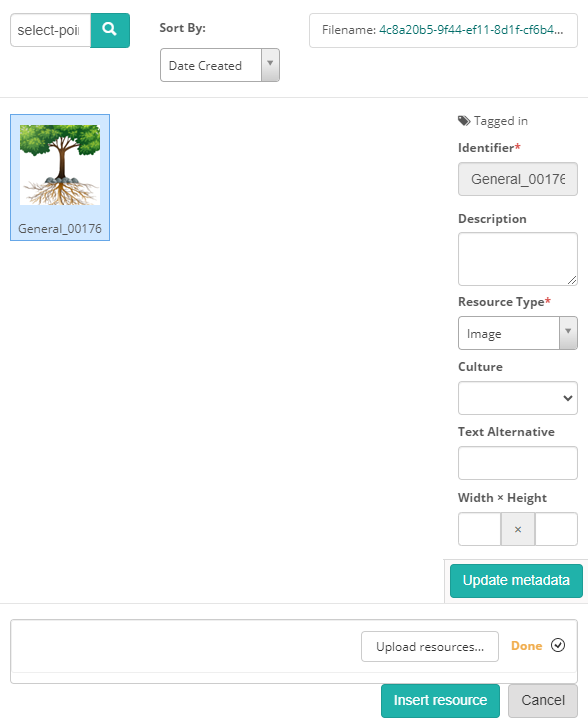
Once the image has uploaded you have an option to upload a new image or to edit the image using the  icon at the top right.
Add drop areas to the image
Using a shape tool, draw shapes around the areas that are to be select areas by clicking and then dragging to the required size.
![]()
Once you have placed the shape, you can make adjustments using the fields below. Increasing the Width and Height will increase the size of the shape.
You can move the shape by clicking on it and then dragging. The coordinates in the Top and Left fields will reflect the moves.
In the example below, we have used the rectangle tool and we have clicked into the shape.
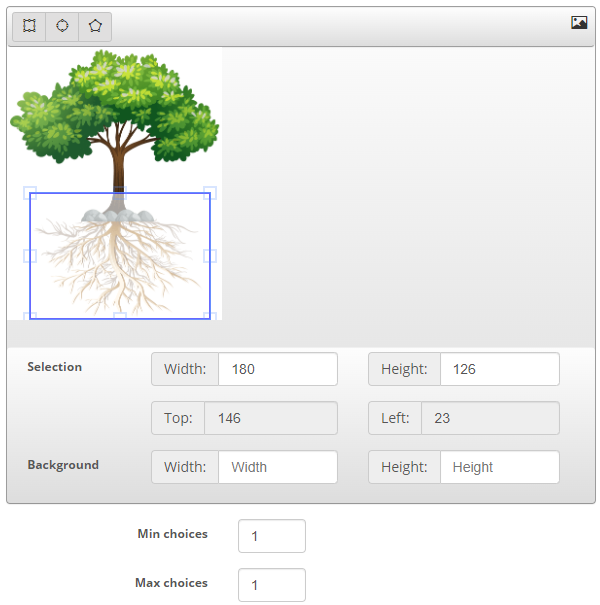
Max Choices – Enter the maximum number of matches for each item in the Max Choices fields. If you set match max to ‘1’, the test-taker can only select one area on the image. If set to 2, they can select two areas.
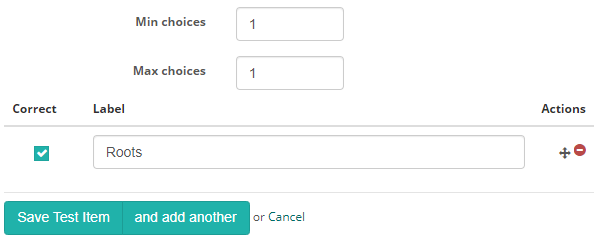
In the next section you’ll enter the responses.
When you enter a Label, it displays on the hotspots to help you identify them. These labels are not visible to test-takers. You can then set the Correct response that the test-takers must select to get the item correct.
Setting scores and marking
Select point interaction item types are system marked.
Scoring type
There are two scoring types available, correct/incorrect and per distractor.

Correct/Incorrect
With this scoring type, the test-taker must select all correct responses to get the item correct.
Per distractor
With this scoring type, additional scoring options will become available to the item author, allowing them to add a score for each response.
Min Score – Setting a value in this field will determine the minimum score that the system can assign to the item.
Max Score – Setting a value in this field will determine the maximum score that the system can assign to the item.
Default Value – The system will use this value if a row doesn’t have a value in the Score column.
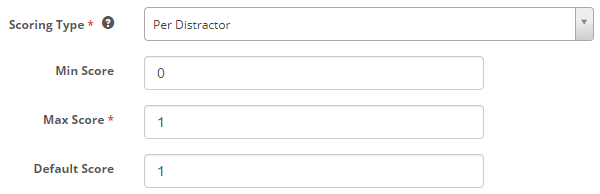
A Score column becomes available below where item authors can set a score per distractor.
