Custom Attributes
Introduction
Custom Attributes allow system administrators to define additional data fields. These fields can be linked to Objects (entities) in the CLS and then used to filter, sort, search and report on these Objects. Custom attributes can also be grouped into sets. Examples of objects that these fields can be linked to are Users, Organisations and Questions.
The following entities in the CLS can have Custom Attributes:
- Assessment Events
- Catalogue Items
- Content Providers
- Courses
- Disciplines
- Enrolments
- Group Types
- Groups
- Learning Event Sessions
- Learning Events
- Marking Project mark
- Modules
- Organisation Units
- Organisation
- Other Learning Data
- Positions
- Questions
- Resources
- Stimulus
- Tags
- Tenants
- Test Attempts
- Tests
- Token Orders
- Users
A special use of Custom Attributes is data collection from Users when they self-enrol, see Custom Attributes and Self Enrolment Questions.
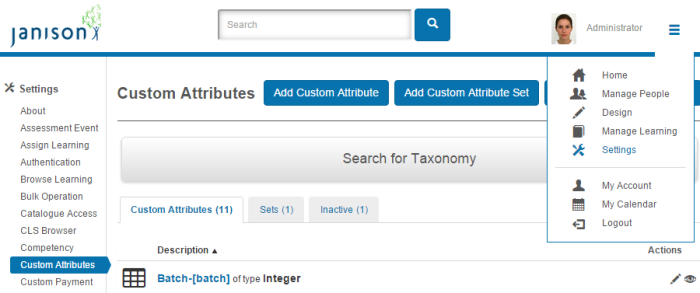
Custom Attributes can be reached by selecting Settings > Custom Attributes
Manage Custom Attributes
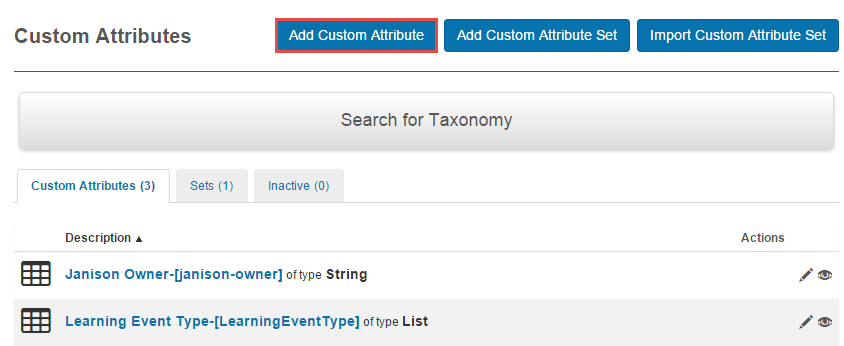
The Custom Attributes screen is divided into: Custom Attributes, Custom Attribute Sets and Inactive Attributes and Sets.

- Click a tab to display a list of members of that group, eg Custom Attributes
- Click Search for Taxonomy and enter the search word(s) to search the list. You can further refine the search by clicking Type and selecting a type of Custom Attribute.

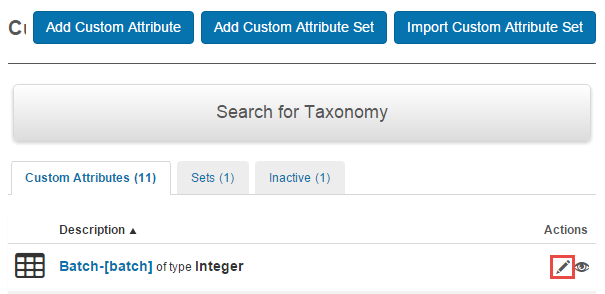
- Click the icons under Actions to edit (pencil) or inspect (eye) the item on the list.
Export Custom Attribute Set
Custom Attribute Sets have an additional icon under the Actions heading (3), the download arrow, that enables you to export them to disk.

Add custom attribute
Custom Attributes can be added by selecting Settings > Custom Attributes then clicking Add Custom Attribute
To add a Custom Attribute
- Enter a Name and Identifier.
- Enter information about the Attribute if desired.
- Click the checkbox to disable this Custom Attribute if desired.
- Click and select the Custom Attribute Type. Each type will display different fields to fill in, see Custom Attribute Types for details.
- Click the arrow next to Linked Objects. Click and select the Object (entity) where the custom attribute will appear. For example if you select Users it will appear on User forms and Reports. You can choose multiple Objects.
- Enter the caption for the field in this entity. In this example, the caption will be displayed next to the blank custom field when a new User is created.
- Click the check box if this field will be mandatory for this Object.
- Click the check box if this field will be inactive in this Object.
- Click the minus icon to delete this Object from the list.
- Click Save Custom Attribute.

Types of Custom Attributes
There a several types of Custom Attributes available.
Custom View
Custom View allows Custom Pages to be displayed wherever custom attributes can be shown. It can also serve as a data store for information from those custom pages. It can be used to allow forms to be displayed and user responses stored.
Note that a Custom Page can be built to fulfil many purposes. It will generally be a requirement for Janison developer to build the Custom Page. You can contact the Janison customer services team to find out more. You can also find out more in our document on Custom Pages.
1. Select the Type of Custom View.
2. Select a previously constructed Custom Page.
3. Enter the Button Text.
4. Add the Linked Objects. In this example we linked it to Catalogue Item.

5. Select Save Custom Attribute.

Note that for the Custom Attribute to be used in a Catalogue Item, it must be linked to a Custom Attribute Set.
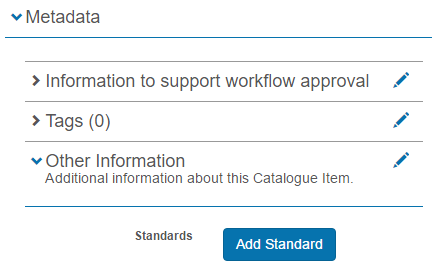
The Standards Selector button appears in a sub section of Metadata of the Catalogue Item. It can be used by the Catalogue Item author to undertake the tasks set up in the Custom Page.
List
This Custom Attribute allows a value to be selected from a drop-down list (for single select lists).
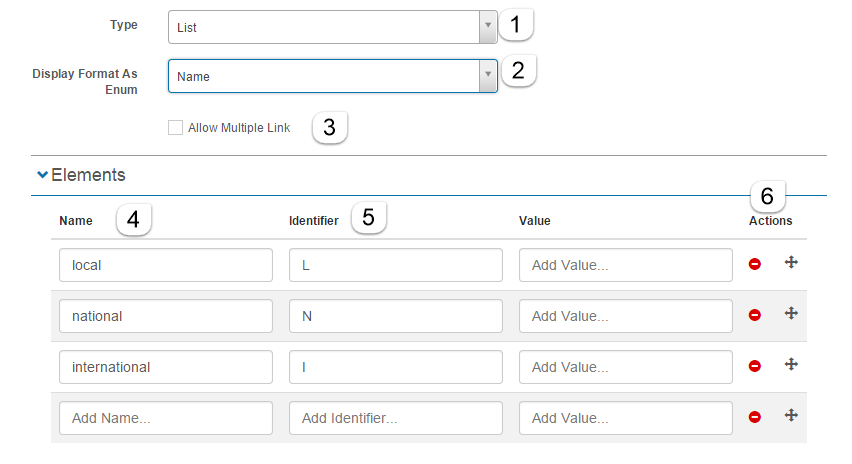
- Select List from the drop-down menu
- Select which of the Elements below you want to display as option (this example only shows the Name)
- Click the Multiple items checkbox if multiple items from the list can be selected. They will be displayed as multiple checkboxes.
Under Elements you enter the items (Elements) on the list:
- Enter text for the Name
- Add an Identifier
Optionally add a Value
- The icons here allow you to delete an Element or drag it to a new position on the list.
After attaching this Custom Attribute to the User Object with the caption ‘geographical region’, updating a User now includes a new drop-down list:

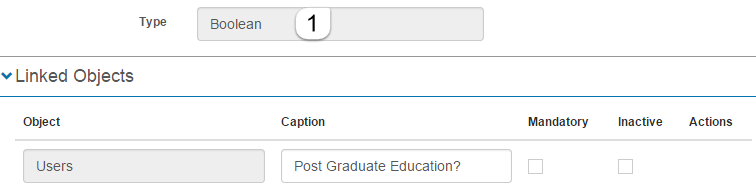
Boolean
This Custom Attribute displays a checkbox.
- Select Boolean from the drop-down menu
After attaching this Custom Attribute to the User Object with the caption ‘Post Graduate Education?’, updating a User now includes a new checkbox:

String
This Custom Attribute allows the free entry of text that can optionally be restricted by a regular expression
- Select String from the drop-down menu
- Enter the maximum number of characters allowable.
- Enter the regular expression to validate the input.

After attaching this Custom Attribute to the User Object with the caption ‘Hobbies’, updating a User now includes a new free text entry box:

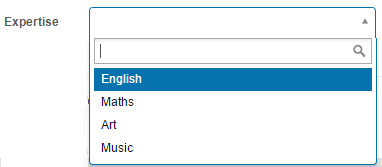
Selection
This Custom Attribute is similar to List but it has a simpler setup. Separate Identifier and Value text is not entered and there is no control over the display
- Select Selection from the drop-down menu
- Enter each text selection on a new line in Elements

After attaching this Custom Attribute to the User Object with the caption ‘Expertise’, updating a User now includes a new field:
Selection with other
This Custom Attribute is the same as Selection however it allows the User to also enter a value that is not defined in Elements by typing an entry.
- Select Selection with other from the drop-down menu
- Enter the Elements to go in the drop-down list

After attaching this Custom Attribute to the User Object with the caption ‘Other Areas of Expertise’, updating a User now includes a new drop-down list.
Selecting ‘Other’ gives the opportunity to enter text in the field containing the paler text ‘Please specify’:

Memo
This Custom Attribute is similar to String but it provides a larger text entry area. The maximum length cannot be set.
- Select Memo from the drop-down menu
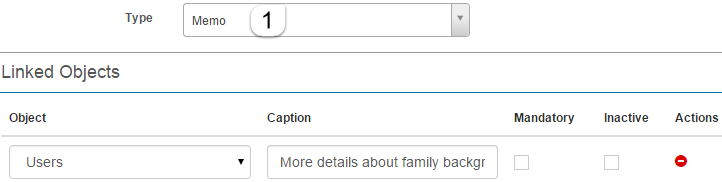
After attaching this Custom Attribute to the User Object with the caption ‘More details about family background’, updating a User now includes a new field:

Integer
This Custom Attribute allows the entry of whole numbers within a defined boundary..
- Select Integer from the drop-down menu
- Enter the smallest allowable number (inclusive) in Min value.
- Enter the largest allowable number (inclusive) in Max value.

After attaching this Custom Attribute to the User Object with the caption ‘geographical region’, updating a User now includes a new field which only allows the entry of integers (whole numbers):

Float
This Custom Attribute allows the entry of any (rational) number, for example numbers with decimal points.
- Select Float from the drop-down menu
- Enter the smallest allowable number (inclusive) in Min value.
- Enter the largest allowable number (inclusive) in Max value.
- Enter the number of decimal places

After attaching this Custom Attribute to the User Object with the caption ‘Coffees per day (average)’, updating a User now includes a new field which only allows the entry of decimal numbers:

Date
This Custom Attribute allows a date to be entered from a date picker..
- Select Date from the drop-down menu

After attaching this Custom Attribute to the User Object with the caption ‘Date started position’, updating a User now includes a new field. Clicking the calendar icon activates the date-picker:

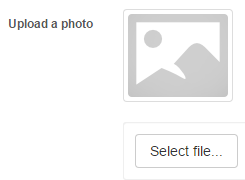
Image
This Custom Attribute allows an image to be uploaded. The image will be displayed on the details page, and in edit mode the filename will be displayed along with a select button to browse the User’s computer to upload a new image. Supported file extensions are jpg, png and gif.
- Select Image from the drop-down menu
- Width The width in pixels of the image when it is displayed
Height The height in pixels of the image when it is displayed.
- Alt Text The alt text to be displayed. If nothing is entered, the filename will be displayed.
- Max File Size The maximum file size in kilobytes for the uploaded file
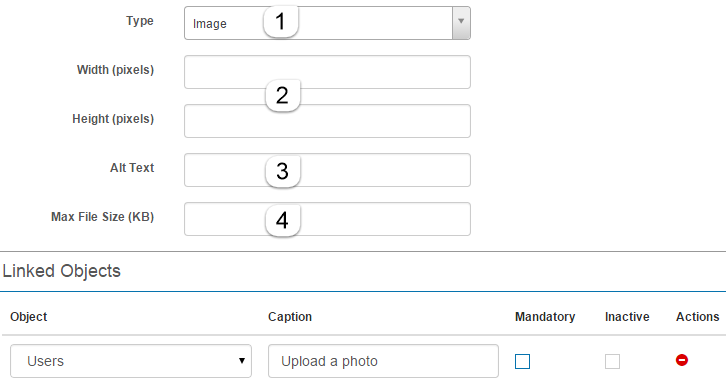
After attaching this Custom Attribute to the User Object with the caption ‘Upload a photo’, updating a User now includes:
Edit Custom Attribute
To edit a Custom Attributes select Settings > Custom Attributes. Click the pencil icon to the right of the Custom Attribute that you want to edit.
The next screen will be similar to the adding a Custom Attribute, see Add Custom Attribute for details.
Add Custom Attribute Set
Custom Attributes can be added by selecting Settings > Custom Attributes then clicking Add Custom Attribute Set

Export Custom Attribute Set
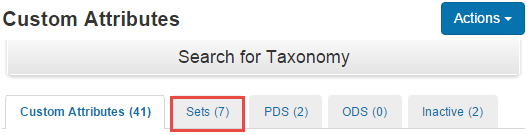
A set of Custom Attributes can be exported to a zip file as a method of moving it to a different site. Browse to Settings > Custom Attributes and click the Sets tab.
Locate the required Custom Attribute Set in the list and click the button found in the Actions column.

The file will save to your local machine.
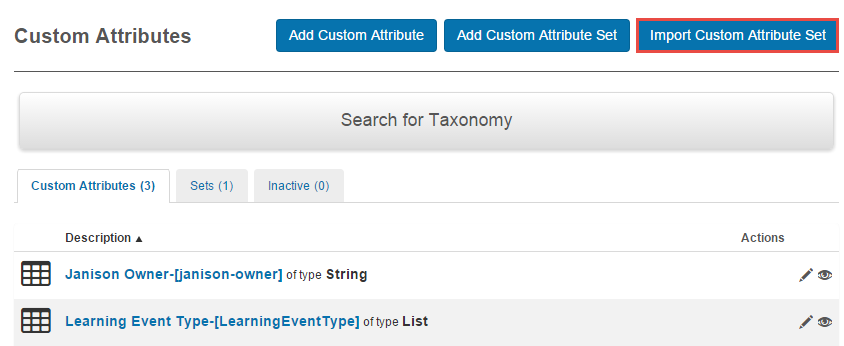
Import Custom Attribute Set
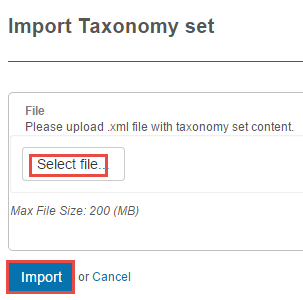
To import a Custom Attribute Set browse to Settings > Custom Attributes > Import Custom Attribute Set.
- Browse to your import file and click Import.
Self Enrolment Question Sets
Custom Attribute Sets containing one or more Custom Attributes can be used to collect information from Users when they self-enrol in a Catalogue Item. These Custom Attribute Sets are referred to as Question Sets in Catalogue Items.
Question Sets could be used to:
- Gather information on dietary requirements for a Training Session.
- Gather data such as geographical location or age range of enrolees.
- Find out how Learners are finding the courses you offer. This may be of assistance for marketing purposes.
To create a Question Set:
- Create a Custom Attribute Set and add one or more Custom Attributes with appropriate fields for the data you want to collect. Note that the Custom Attributes do not need to be linked to any Objects.
Below is an example of two Custom Attributes in a Custom Attribute Set. A List type has been used in this example but any Custom Attribute type can be used.
The question sets can be added to a catalogue item or a learning event.
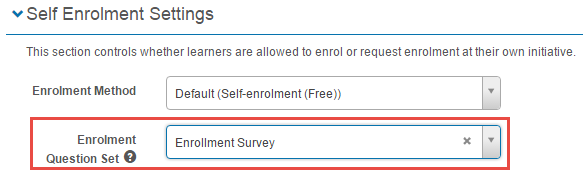
To add the questions to a catalogue item, browse to your Catalogue Item, enter edit mode and open the Self Enrolment Settings section. In the Enrolment Question Set drop-down, select your question set and Save the Catalogue Item.
Learners enrolling in the Catalogue item will be presented with the questions as shown below.

To add the questions to a Learning event, open the learning event and select the icon in the Attendee Questions section. Select the Attendee Question Set and Save.

Note: Learners will only be presented with the question sets if the Self Enrolment Method does not involve auto enrolment. For example if the Self Enrolment Method is set to No approval, enrol and launch immediately, Learners will bypass the question set and be taken straight to the Learning Asset.
Reporting on Enrolment Question Sets
To view the data collected from the Question Set, a report can be created using Enrolment as the entity.
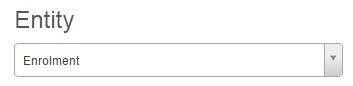
Below is an example of the report output. For further information on how to create reports please see the document on Customisable Reports.
