Create marking project
A marking project brings together everything needed to mark an assessment event: the markers, the items to mark, the quality controls and the schedule. This page shows how to create an enrolment-based marking project, where markers can start on a test-taker's responses while others are still sitting the test.
Create a marking project video
This video walks you through creating a marking project.
Marking project types
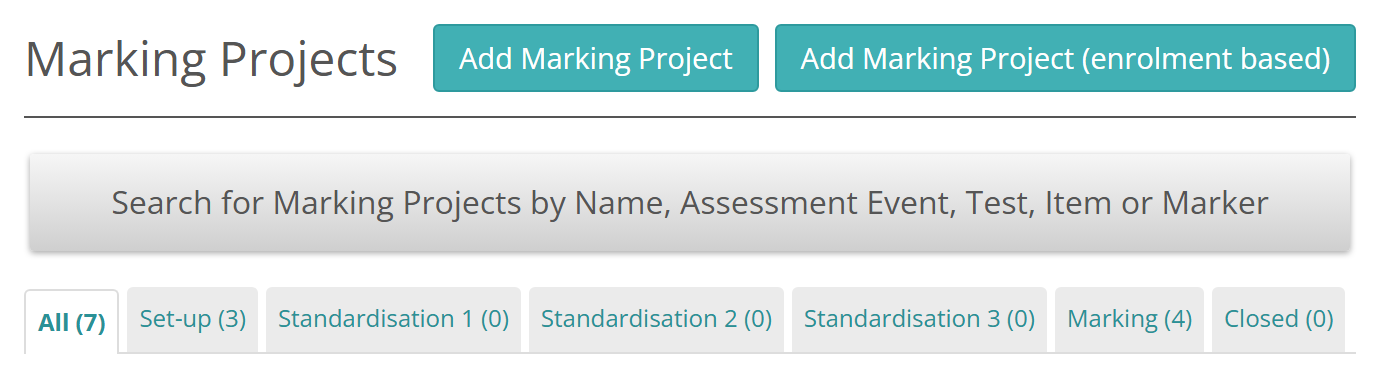
The Marking Projects screen has a button for each type of marking project:
- Add Marking Project creates a standard marking project. Results are released together once all marking is finalised. See Create a marking project in the standard marking guides.
- Add Marking Project (enrolment based) creates an enrolment-based marking project. Each test-taker's result can be released once their own marking is done. The rest of this page covers this type.
Add Marking Project (enrolment based) appears only when enrolment-based marking is turned on for your site (see Settings). The screen looks like this:
Before you start
- Set the assessment event's Event marking mode to Enrolment based marking project. You can change it only while the event is in Draft. Without it, the event's test-takers never reach the project's marking queue. See Event marking settings.
- Wait until the event is in Delivery or Closed. Until then, you can't add it to a project.
- Check that your role lets you create marking projects. This is set per role at Settings > Roles.
Create the project
- On the Marking Projects screen (Marking > Marking Projects), select Add Marking Project (enrolment based).
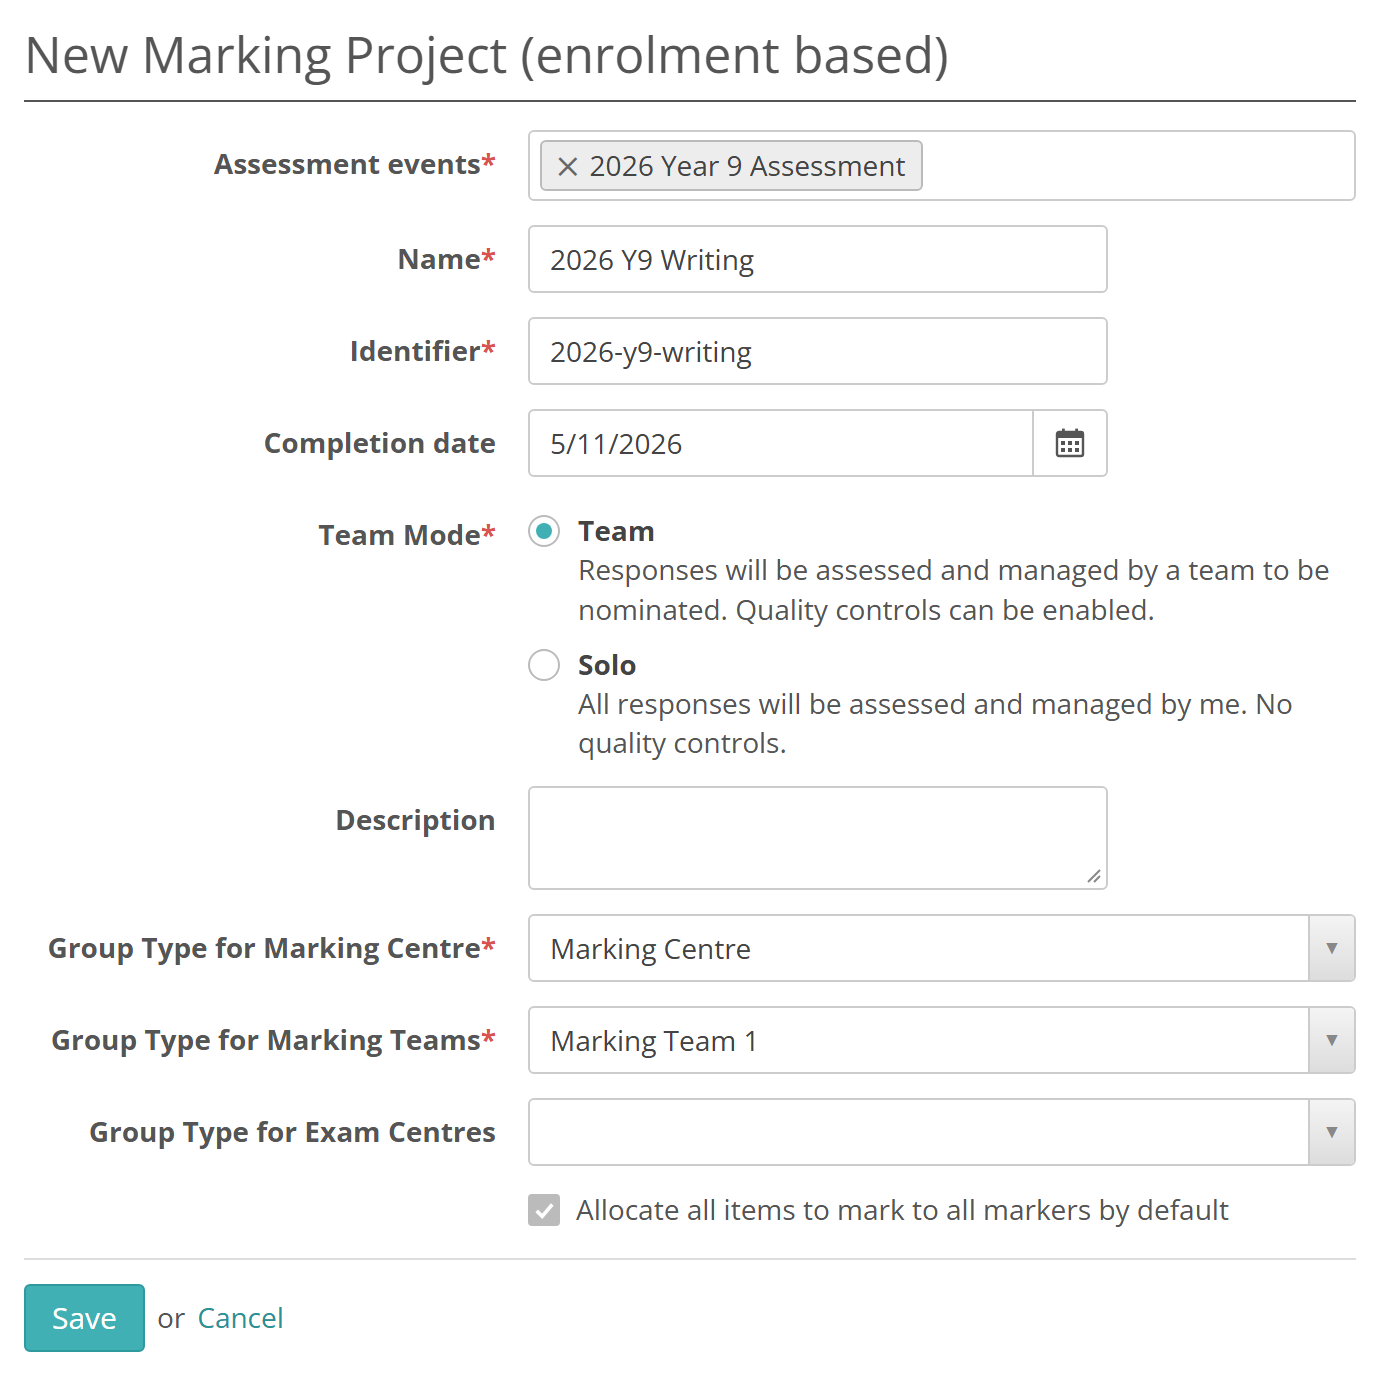
- In Assessment events, select the events this project will mark. You can select more than one. If an event is missing, check that it's in Delivery or Closed and isn't already in another marking project.
- Enter a Name. The Identifier fills in as you type.
- Set a Completion date, the day marking should be finished by. The project's page counts down the days to it.
- Under Team Mode, choose Team for a team of markers with quality controls such as seed scripts. Choose Solo to mark every response yourself, with no quality controls.
- Select Save.
If Team Mode offers only Solo, your site has no quality controls turned on for enrolment-based projects. You can switch a project from Team to Solo later only by removing everyone else from it and turning off its quality controls.
A completed form looks like this:
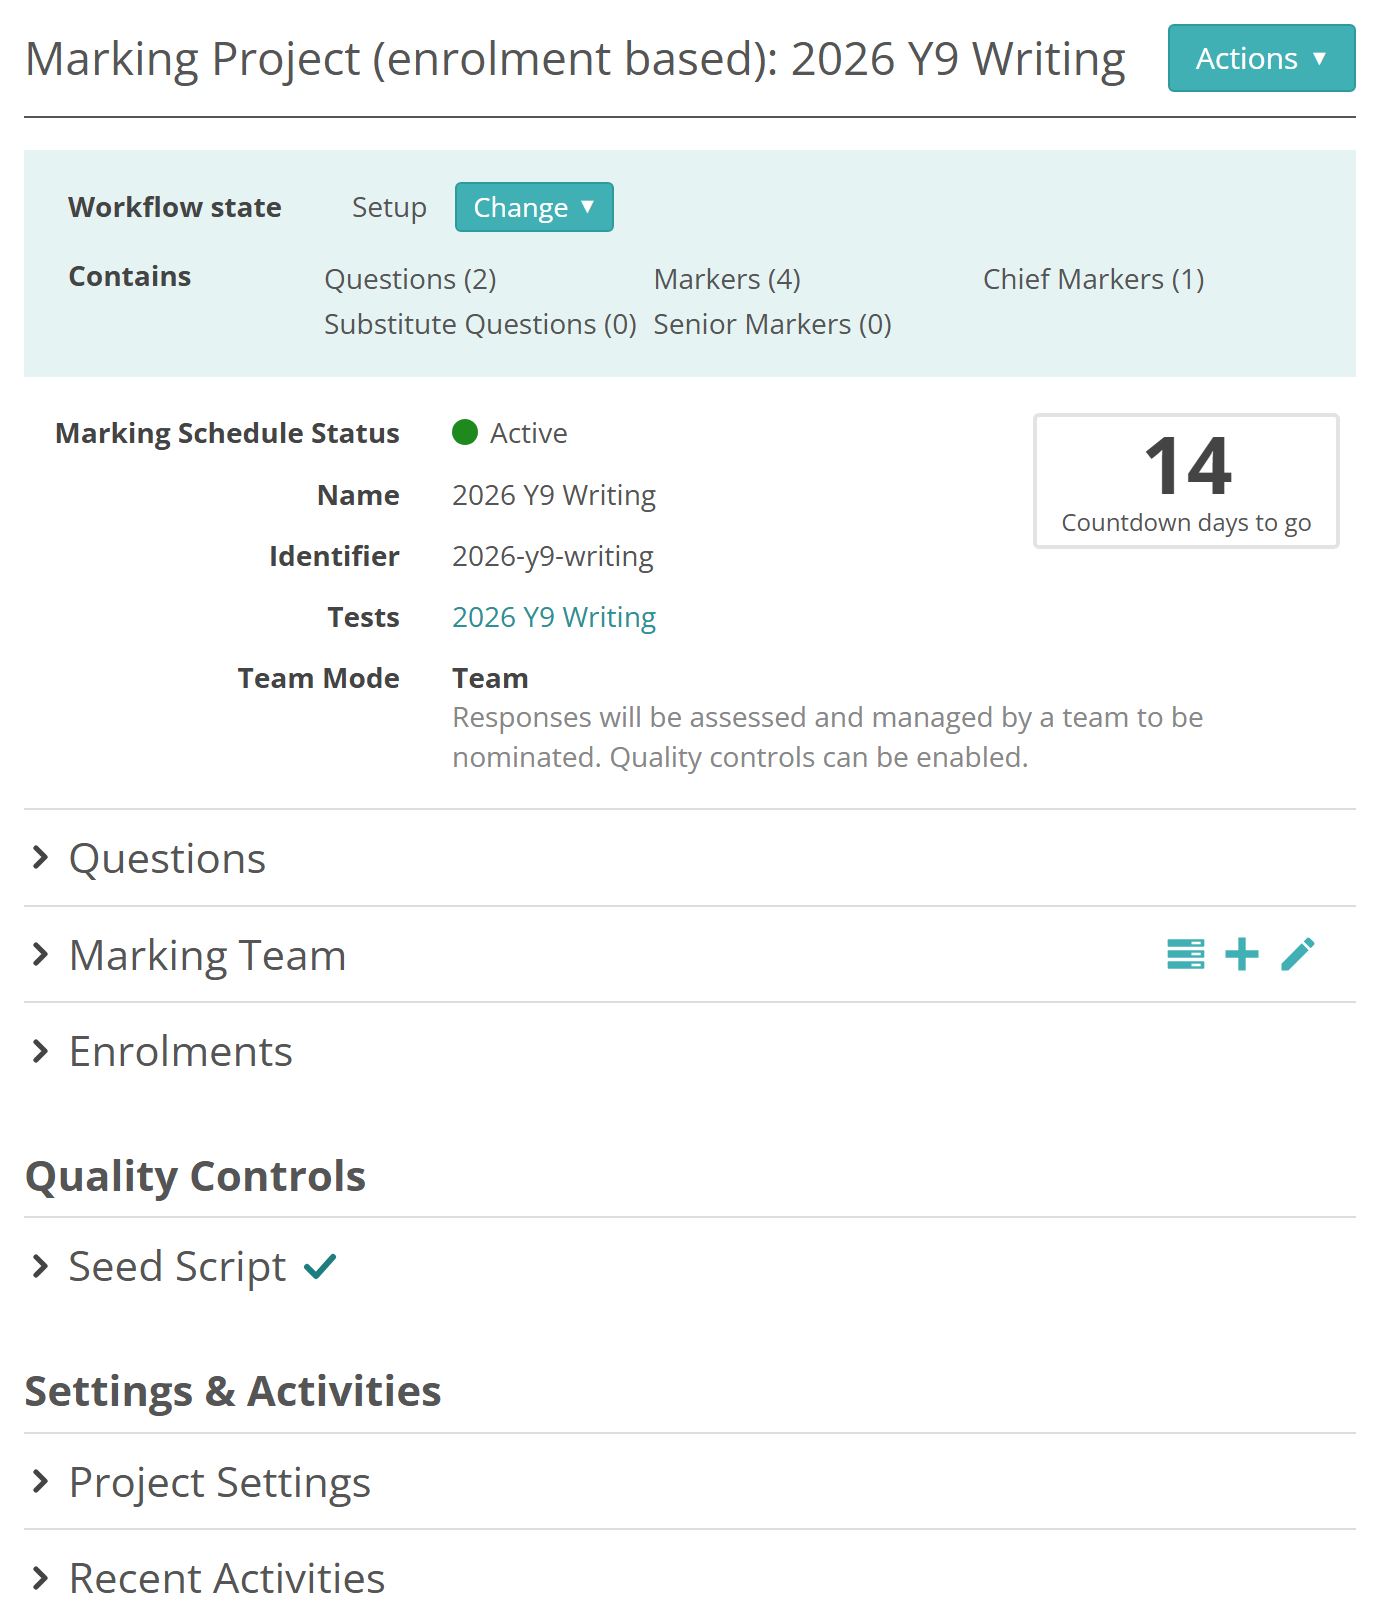
The project's page opens, in set-up. Add the marking team next.
Other fields on the form
Description is optional, for notes about the project.
Group Type for Marking Centre and Group Type for Marking Teams are required. They set the types of group the project uses to organise its markers, and they come filled in from your site's settings. Group Type for Exam Centres is optional.
Marking Project Admin appears only when your site has a marking project admin role set up. The person you choose joins the project's marking team in that role when you save. The list shows people in a group of the Group Type for Marking Centre type.
Allocate all items to mark to all markers by default is always ticked on an enrolment-based project, so every marker you add can mark every item. This holds whatever the Default Allocate all items to all markers to enabled setting says.
Change the assessment events later
Assessment events is locked once the project has markers or training requirements, or has moved on from set-up. While the project is in Marking, you can still add assessment events. Select Edit Marking Project from the project's Actions menu, then choose the events in the extra field below Assessment events.
Settings
Administrators can configure these settings at Marking > Marking Extended Settings.
Enable Enrolment Based Marking, in Marking Project Settings — adds Add Marking Project (enrolment based) to the Marking Projects screen. See Enrolment based marking.
Create Distinct Group Types Per Marking Project, in Marking Project Settings — when you save a new project, creates a marking centre group type and a marking team group type named after it. The project uses these instead of the group types on the form. Off by default.
Team Roles — sets the Group Type for Marking Centre, Group Type for Marking Team and Group Type for Exam Centres that new projects start with. Its Marking Project Admin Role adds the Marking Project Admin field to the form.
Default Grace Period On and Default Grace Period, in New Marking Project Automation — give every new project a grace period, in minutes, during which markers can change a score they've submitted. Off by default. See Grace periods.
On each assessment event:
Event marking mode, in Event Marking Settings — must be Enrolment based marking project for the event's test-takers to reach the project. See Event marking settings.
Permission to create marking projects is set per role at Settings > Roles.